

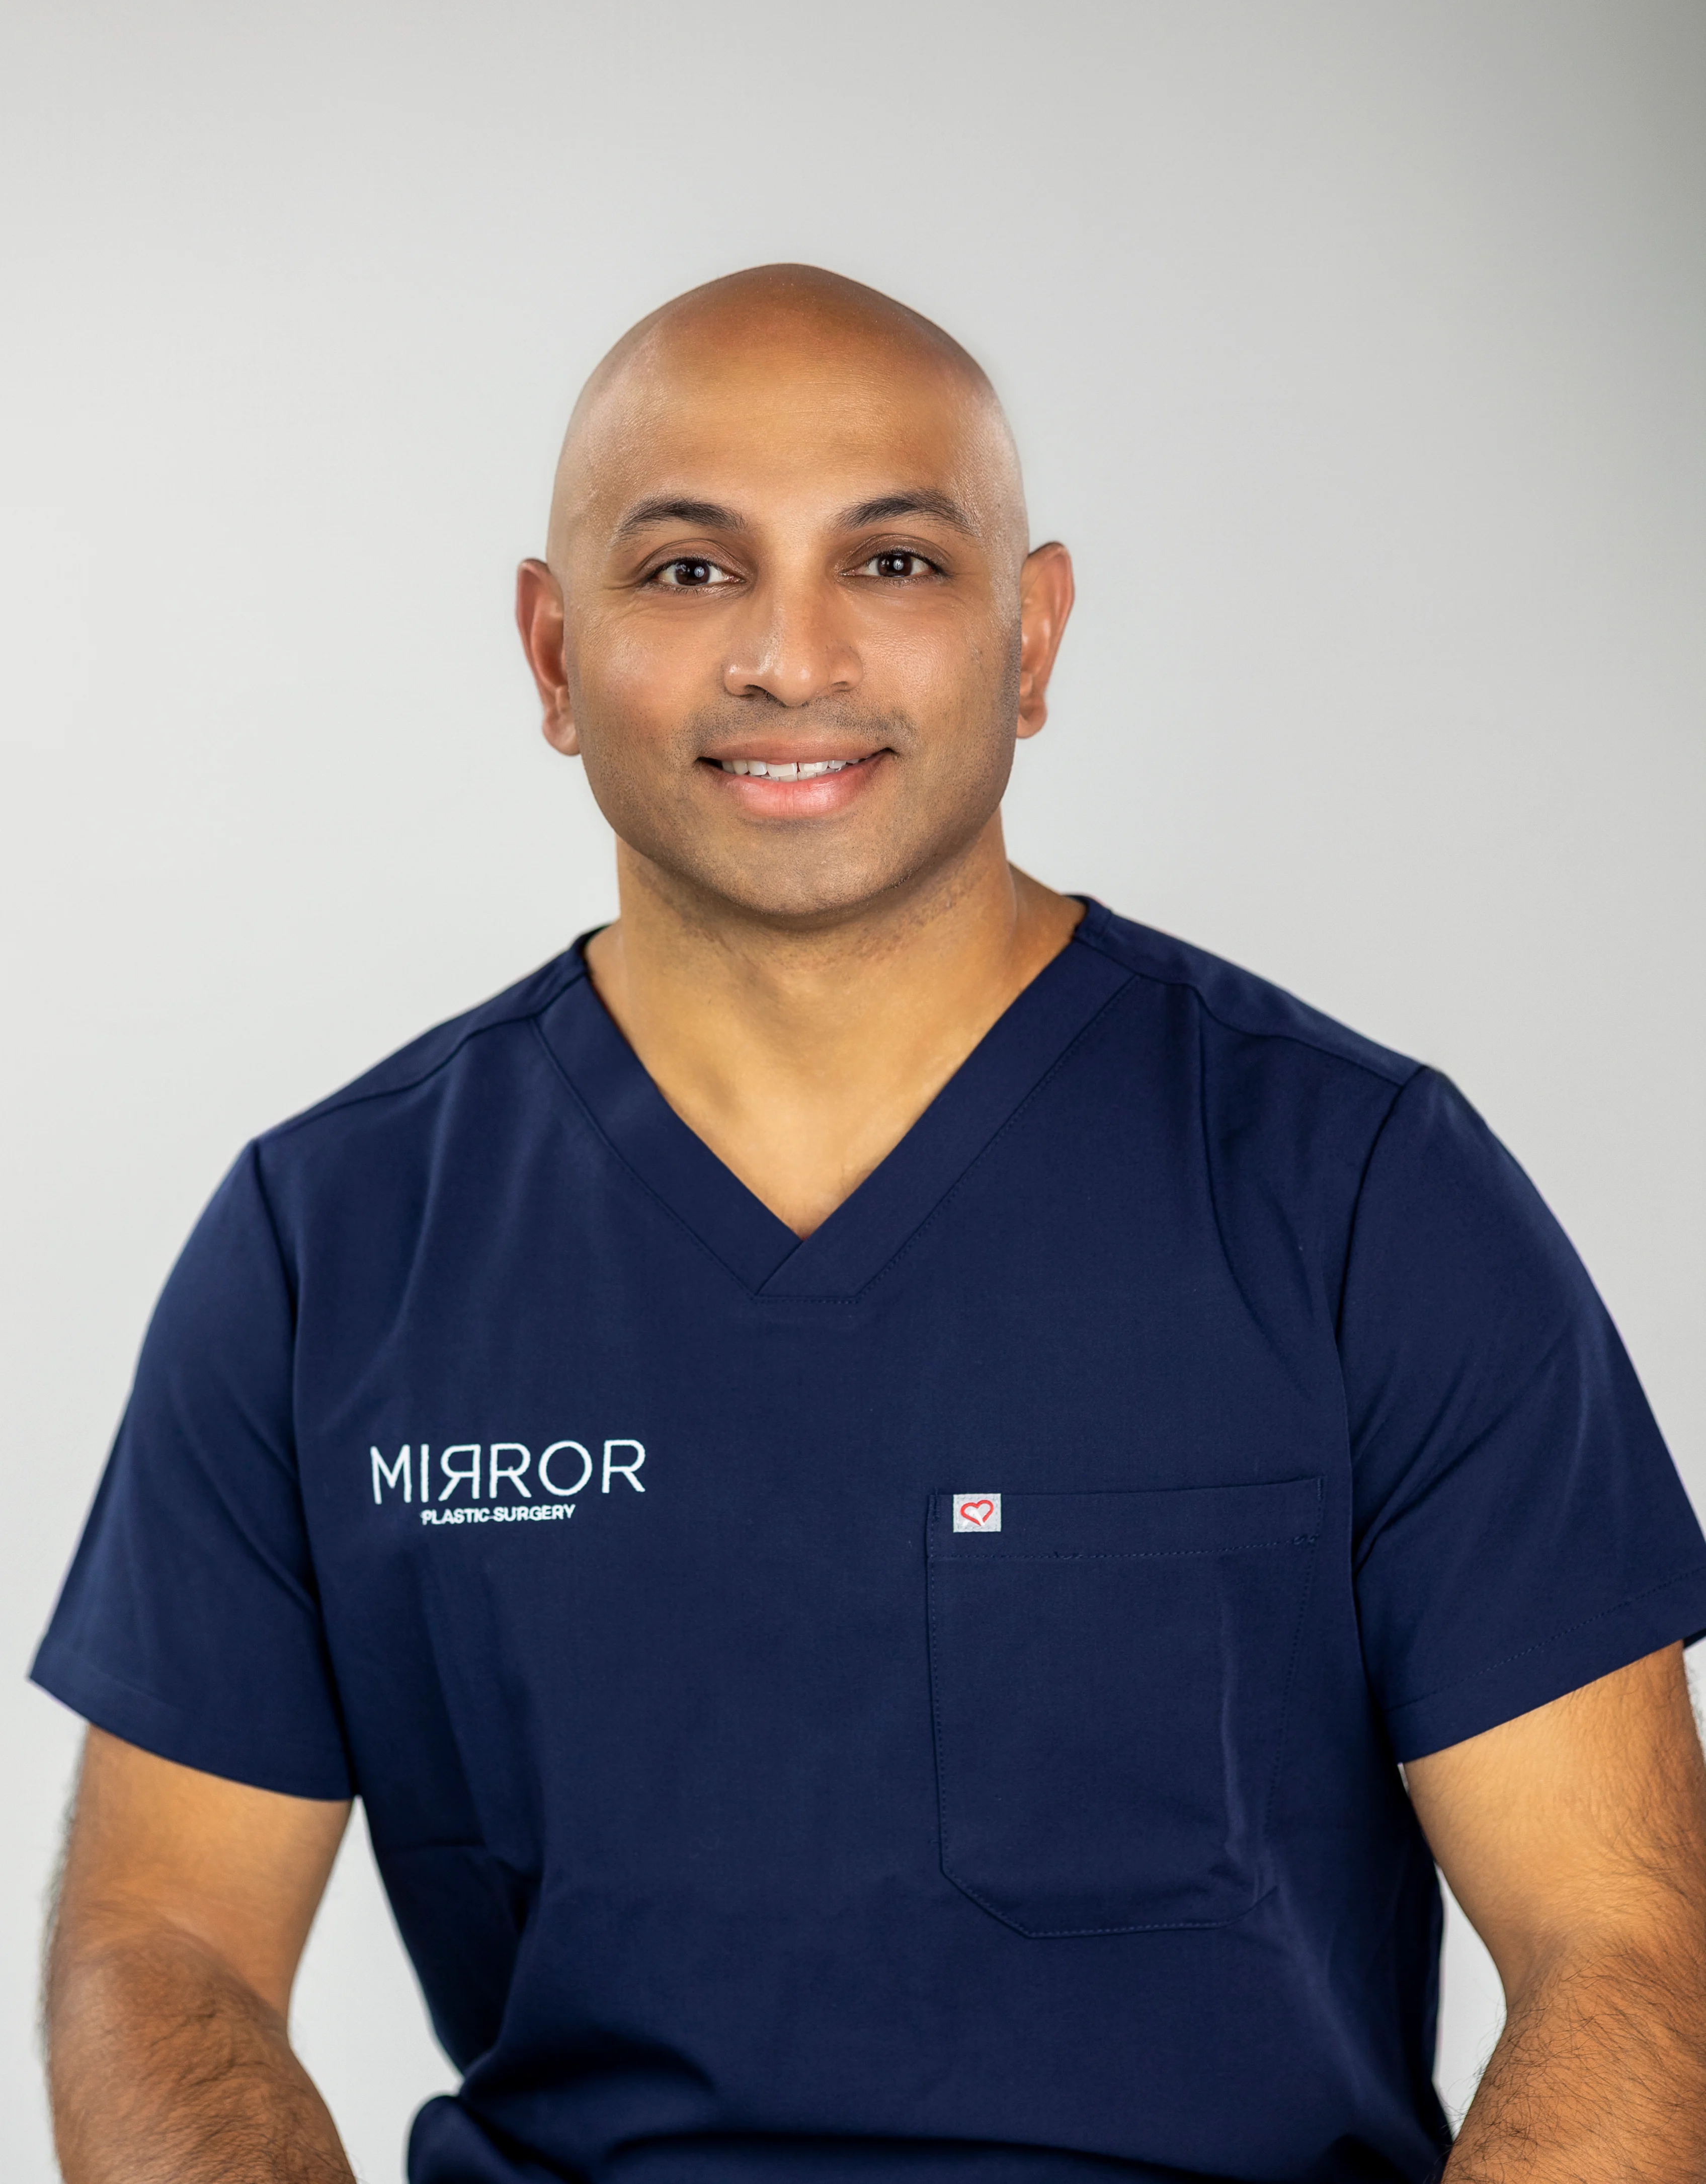
Written by: Dr. Akash Chandawarkar, Board Certified Plastic Surgeon, Mirror Plastic Surgery | Last updated: September 9, 2026
The Overfilled Look: Why “Just A Little More” Becomes A Problem
Pillow face almost never comes from a single appointment. It develops gradually as new filler gets added on top of old product that has not fully cleared. Each session can look reasonable on its own, yet the total volume builds until the face looks distorted.
High-molecular-weight hyaluronic acid fillers can remain visible on MRI scans 10 to 15 years after injection. This finding challenges the idea that all filler disappears within 6 to 18 months. Patients who “top up” regularly may unknowingly stack new product on top of residual filler.
The core problem is layering. Years of repeated injections that never fully clear can create Facial Overfilled Syndrome (FOS), with chronic puffiness, flattened contours, and distorted proportions that persist even after treatments stop. Strategic placement that treats the facial foundation first offers a safer, more natural path.1
Why Layering Fails: The Anatomy Of Overfilling
Product Stacking And Cumulative Volume
Dermal fillers are hydrophilic and attract water. Filler can look more pronounced months after injection as it binds water. Each new layer placed on top of residual product increases water retention. The face can look progressively puffier even when each visit uses only a small amount.
Every facial region has a physiological ceiling for filler volume. The cheek often begins to distort natural light and shadow once roughly 1.5–2 mL per side is exceeded. The tear trough tolerates far less volume before looking swollen or unnatural.
Migration, Gravity, And Aging Tissue
Filler migration occurs due to muscular movement, shear stress, tissue saturation, and gravity acting on aging skin. Migration can create lumps, widen the face, and blur natural contours. As skin loses elasticity with age, filler that once looked stable can shift because surrounding support weakens.
Migration can also interfere with lymphatic drainage in the tear trough and malar regions. This interference can cause chronic puffiness that patients sometimes misinterpret as a need for more filler, which fuels a cycle of overcorrection.
Isolated Treatments And Lost Facial Harmony
Treating one feature without assessing the whole face often leads to overfilling. Under-eye hollows that stem from volume loss in the upper cheek may receive repeated under-eye injections, even though the true issue lies higher in the midface.
Overfilled syndrome, facial heaviness, and unnatural broadening frequently result from poor indication, excessive medial filling, and weak analysis of the ligament-fat support system. The overfilled look usually reflects many small, well-intentioned treatments performed without a full-face plan.
The Strategic Placement Framework For Natural Results
This framework reflects the anatomy-first approach Dr. Chandawarkar uses at Mirror Plastic Surgery. His training at Johns Hopkins and fellowship in aesthetic surgery guide a shift from “how much to add” to “where to place and why.”
- Treat The Foundation First
Volume loss in structural areas such as temples, cheekbones, and jawline weakens the facial scaffold. Overlying skin and soft tissue then sag. Restoring this foundation often reduces or eliminates the need for filler in softer, more delicate zones.
Think of the face like a tent. Stable poles allow the fabric to drape smoothly. Collapsing poles make extra fabric bunch and look bulky. Deep injection at the supraperiosteal or intramuscular level in the midface and chin, with intermediate-depth placement for nasolabial folds and cheek hollows, creates a natural-looking base.
- Place Filler Deep For Structural Support
A small, well-placed deposit at the periosteal boundary changes the geometry of every layer above it. This approach lifts from beneath instead of creating surface bulk.
Deep placement also improves safety. It avoids many superficial blood vessels and lowers the risk of the Tyndall effect, a bluish discoloration from filler placed too close to the skin. Deep plane injections reduce vascular complications by 62% compared with superficial techniques in high-risk zones.1 This combination of better support and lower risk makes deep placement a cornerstone of strategic treatment.
- Match The Filler To The Zone
Each facial area needs specific filler properties. High-G′ fillers (300–900 Pa) provide strong structural support for deep placement in the cheeks or jawline. Low-G′ gels under 200 Pa suit superficial layers such as the tear trough or lip border and reduce the chance of heaviness or an overfilled look.1
Dr. Chandawarkar uses a broad portfolio, including Juvederm, RHA, Versa, Restylane, Radiesse, and Evolysse. He selects products based on anatomy and goals rather than brand loyalty.
Key Principles Of Strategic Placement
- Treat The Whole Face Full-face assessment before every session prevents the imbalance that leads to overfilling.
- Inject Deep Onto Bone For Lift Supraperiosteal placement shapes natural contours instead of surface puffiness.
- Match Filler Rheology To The Area Firmer products support structure. Softer products suit dynamic or delicate zones.
- Prioritize Harmony Over Volume The goal is balanced, three-dimensional contour rather than chasing a number of syringes.
- Allow Time Between Sessions Repeated treatment based on assumed degradation instead of observed need commonly leads to overfilling. Integration time protects against this.
- Reassess Before Every Treatment Each visit begins with fresh evaluation instead of automatic top-ups.
Choosing The Right Filler And Injector
The injector’s anatomical knowledge has the greatest impact on avoiding overfilling. The training and anatomical expertise of the person holding the syringe strongly influence safety and satisfaction. Physicians can diagnose vascular events as they occur, respond immediately, and make urgent clinical decisions that non-physician injectors are not trained or authorized to make.
Hyaluronic acid fillers are reversible with hyaluronidase, which makes adjustments easier if overfilling occurs. Biostimulatory fillers such as Radiesse (calcium hydroxylapatite) do not respond to dissolving enzymes. Conservative, precise placement becomes essential with these products. They also stimulate collagen and provide longer-lasting structural support, which makes them powerful tools in experienced hands.
Dr. Chandawarkar is Harvard-educated, Johns Hopkins-trained, and board-certified by the American Board of Plastic Surgery, with fellowship training in aesthetic surgery at the Manhattan Eye Ear & Throat Hospital/Lenox Hill Hospital. He serves on advisory boards for Merz Aesthetics and Tiger Aesthetics, keeping him current with injectable advances. At Mirror Plastic Surgery, he personally performs every injectable treatment, and consultations can last up to an hour for a true top-to-bottom assessment.
Book a consultation with Ellie to experience a surgeon-led, anatomy-first injectable assessment.
Recognizing And Correcting An Overfilled Look
Signs You May Be Overfilled
Common signs include a face that looks wider or heavier than before, features that no longer match your natural structure, a constant urge for “just one more syringe,” photos that do not match how you remember looking, and friends saying you look “different” without knowing why. Additional clinical signs include:
- Cheeks that look full or rounded even at rest
- Loss of natural shadows just below the cheekbones
- Restricted movement where the skin feels tight or does not move easily when you smile or talk
- Visible lumps or puffiness that does not settle
- A face that appears swollen rather than refreshed
Your Step-By-Step Action Plan
Patients who suspect overfilling benefit from a calm, staged approach instead of quick fixes.
- Allow Time For Integration Some filler needs 2–4 weeks to settle. Early swelling can mimic overfilling, so waiting through this window often clarifies what is true volume versus temporary inflammation.
- Discuss Hyaluronidase For HA Fillers For hyaluronic acid products, hyaluronidase begins breaking down filler within hours, with visible reduction in 24 to 48 hours. A staged dissolving plan in multiple sessions helps avoid sudden hollowing or over-correction.
- Seek A Second Opinion A “filler audit” with an expert such as Dr. Chandawarkar can map existing product and outline corrective steps. Ultrasound imaging may guide this process before any dissolving or re-treatment.
How To Talk To Your Injector About Natural Results
Clear communication with your injector offers strong protection against overfilling. Consider asking questions such as:
- “I want to avoid looking overfilled. How will you plan for natural results?”
- “What is your approach to facial harmony, beyond treating a single area?”
- “Can we start conservatively and build only if needed?”
- “How long should I wait between sessions so previous filler can fully integrate?”
Skilled injectors welcome these conversations. Dr. Chandawarkar is known for transparency and often advises patients to delay or skip treatment when it is not yet needed. A physician injector who recommends less filler, or none at all, signals a strong safety mindset.
Beyond Fillers: Supporting Skin Quality
Healthy, resilient skin reduces the amount of filler needed for a refreshed look. Regenerative treatments stimulate collagen, improve elasticity and firmness, and enhance hydration.1 These changes help the face look more youthful without changing its natural shape.
Treatments such as microneedling, laser resurfacing, and radiofrequency tightening can complement injectables. At Mirror Plastic Surgery, Dr. Chandawarkar offers a range of non-surgical options to support skin quality and structural balance. This holistic approach reflects the practice philosophy: safety first, function second, aesthetics third.
Conclusion: Choosing Strategy Over Layering
Layering filler session after session creates the overfilled look many patients fear. Strategic placement that treats the foundation, uses deep structural support, matches filler to each zone, and respects facial harmony produces natural, long-lasting results.
Dr. Akash Chandawarkar personally performs all injectable treatments at Mirror Plastic Surgery, located at 780 4th Ave S, St. Petersburg, FL 33701. You can reach the practice at 727-361-6515 or [email protected].
Schedule your anatomy-first consultation and take the first step toward natural-looking results built on anatomy and thoughtful planning.
Key Takeaways
- The overfilled look usually develops gradually from repeated layering of dermal filler rather than from a single treatment.
- Strategic placement that focuses on deep structural support instead of surface volume helps prevent puffiness and distortion.1
- Matching filler properties to each anatomical zone and allowing time between sessions supports natural, long-lasting outcomes.1
- Choosing an injector with advanced anatomical training, such as a board-certified plastic surgeon, lowers the risk of complications and overfilled results.1
- Patients who want a personalized, anatomy-first filler plan can book a consultation with Mirror Plastic Surgery to discuss options with Dr. Chandawarkar.
Disclaimer: Results may vary from person to person. Editorial content, before and after images, and patient testimonials do not constitute a guarantee of specific results.
1 Results may vary from person to person. Editorial content, before and after images, and patient testimonials do not constitute a guarantee of specific results.