

Written by: Ellie Pranckevicius, FNP-BC, Aesthetic Nurse Practitioner & Aesthetic Injector | Facial Restoration & Regenerative Injectable Specialist, Mirror Plastic Surgery | Last updated: July 20, 2026
Key Takeaways
- Three primary techniques (vermilion border definition, tenting, and microcannula delivery) address thinness, heaviness, lines, or asymmetry based on your unique upper lip anatomy.
- A rushed, volume-first approach often causes migration, overfilling, and asymmetry. A full-face anatomical evaluation should always come before product selection.
- Not every thin or uneven upper lip benefits most from filler. Bone structure, muscle movement, dental anatomy, and prior treatments must be reviewed first.
- Swelling increases over the first 24 to 72 hours and usually settles by day seven. Final results are assessed at two weeks, with hyaluronidase available if correction is needed.1
- Book a consultation at Mirror Plastic Surgery for an anatomy-first assessment and a personalized upper lip treatment plan.
The Problem: Results from Rushed, Volume-First Lip Filler
Many adults seeking upper lip correction have already had a treatment that did not match their goals. They may notice a shelf above the lip border, uneven fullness, prolonged swelling, or a top-heavy look instead of the subtle refinement they requested. These outcomes rarely come from the filler itself. They usually come from skipping a proper assessment.
Migration, overfilling, and asymmetry are primarily driven by provider-controlled factors: too much product in a single session, superficial placement, a product that does not match lip tissue, and repeated layering without reassessment. When a provider focuses on volume instead of anatomy, the lip’s dense blood supply, constant movement, and thin skin make complications more likely.
At Mirror Plastic Surgery, every injectable treatment follows a safety-first, function-second, aesthetics-third philosophy. Ellie Pranckevicius, FNP-BC, begins each appointment with a comprehensive full-face anatomical review before any product is discussed. This approach contrasts with high-volume practices where consultation time is brief and technique selection follows trends instead of your structure.
Who Is a Good Candidate for Upper Lip Filler?
Not every thin or uneven upper lip is best corrected with filler. The first distinction is between a lip that looks thin because of overall facial balance, such as chin recession or a long philtrum, and a lip that is truly thin from volume loss. True thinness often responds well to filler. Apparent thinness may respond better to chin contouring or a lip flip.
Ellie evaluates several factors before forming any treatment plan:
- Skin quality, texture, and depth of lines around the mouth
- Bone structure, including maxillary projection and chin position
- Muscle dynamics across commissural, canine, and full-denture smile patterns
- Dental structure, because anterior inclination of the maxillary teeth and alveolar bone loss can limit achievable augmentation
- Prior filler history, including palpation for residual product or migration
- Emotional goals and realistic expectations
Fillers are unsafe or require an alternate plan in several situations:
- Active perioral herpes or infection at the treatment site
- Pregnancy or breastfeeding
- Known hypersensitivity to the chosen filler or lidocaine
- Recent isotretinoin use, which requires a waiting period
- A long upper lip or elongated philtrum, which often responds better to a surgical lip lift than filler alone
- Patients who want only subtle eversion without volume, who usually suit a lip flip better
- Existing filler migration that must be dissolved before new product is placed
Three Targeted Techniques for Upper Lip Refinement
Technique choice follows your anatomy, not social media trends. The three main approaches for upper lip correction each support a different structural goal.
Vermilion border definition uses precise, low-volume placement along the lip’s outer edge. This sharpens the outline, restores a faded Cupid’s bow, and softens lipstick bleed lines. Placing filler first along the vermilion border and Cupid’s bow before adding volume to the lip body creates structure, lowers the risk of heaviness, and improves upper lip symmetry.
Tenting (also called the vertical or Russian technique) deposits product in vertical columns from the base of the lip toward the vermilion border. This approach everts the upper lip without adding bulk to the sides, helping maintain a natural ratio where the upper lip remains one-third to one-half the volume of the lower lip. It suits patients with thin, flat upper lips, an undefined Cupid’s bow, or low lip height.
Microcannula delivery uses a blunt-tipped instrument instead of a sharp needle to distribute product through the lip body. Cannula use can reduce bruising and vascular risk compared with needle techniques. This method works well for patients who bruise easily, take blood-thinning supplements, or need very controlled volume to correct asymmetry.
The following comparison shows how each technique targets different anatomical concerns and carries its own risk profile:
| Technique | Primary Benefit | Key Risk | Best Suited For |
|---|---|---|---|
| Vermilion border definition | Sharper outline without significant volume | Migration if placed too superficially | Faded border, lipstick bleed lines, Cupid’s bow refinement |
| Tenting (vertical/Russian) | Central height and projection without lateral bulk | Stiffness or visible migration with repeated treatments if overfilled | Thin, flat upper lip; undefined Cupid’s bow; low lip height |
| Microcannula delivery | Reduction in bruising and vascular risk vs. needle | Mild, transient swelling and tenderness remain possible | Asymmetry correction, bruise-prone patients, precise volume control |
Current evidence does not show a single superior injection technique, instrument, or formulation for lip augmentation safety or outcomes. This supports an anatomy-driven, individualized approach instead of a one-size-fits-all protocol.
What Happens on Treatment Day and During the First Two Weeks
A typical upper lip filler appointment at Mirror Plastic Surgery follows a clear sequence. Topical anesthetic stays on for about ten minutes. Most fillers also contain lidocaine, which further eases discomfort during injection. The injection phase usually takes five to fifteen minutes, and Ellie checks symmetry in real time from several angles. Before you leave, you receive detailed aftercare instructions.
The swelling timeline usually follows this pattern:1
- Day 1: Lips look over-filled because of both the injected filler and post-treatment inflammation, and they may feel tight and tender.
- Days 2–3: Swelling peaks and then starts to settle unevenly, often causing temporary asymmetry, lumps, and peak bruising.
- Days 4–7: Swelling decreases significantly, lips feel less tight, and small lumps begin to soften.
- Day 14: Filler integrates with the surrounding tissue, and this is the right time to assess the final result and any remaining asymmetry.
The upper lip looks larger right after filler because hyaluronic acid attracts and binds water. The minor tissue trauma from injection adds to this effect. Together, they create immediate swelling that can make the lips appear 30 to 50 percent larger than the intended final result at the peak. This peak usually occurs around day two and reflects water retention and inflammation, not overfilling.
Managing Uneven Results and Using Reversal Safely
Temporary asymmetry in the first week after upper lip filler almost always comes from uneven swelling rather than injection error. The lips have a dense blood supply that creates variable fluid response on each side, and pre-existing differences in bone or soft tissue often show more clearly during healing, even when product is placed symmetrically. Waiting the full two weeks before judging symmetry is essential.
When asymmetry continues beyond two weeks, the cause guides the correction plan. Post-filler asymmetry can stem from migration due to gravity and movement, different absorption rates, uneven injection volume or placement, or amplification of pre-existing asymmetry. Correction options include:
- Targeted professional massage for minor product redistribution
- Small additional filler on the side with less volume when the other side looks appropriate
- Dissolution of excess or migrated product on one side
- Complete dissolution and a staged restart when each side has a different issue
The enzyme that dissolves filler is stored on site. Dissolution results appear within hours and are largely complete within 24 to 48 hours, returning lips to their natural baseline. In the rare case of vascular occlusion, marked by severe pain, blanching, or dusky discoloration, immediate treatment is a medical emergency. Mirror Plastic Surgery keeps the reversal agent on site, in date, and in adequate quantity, with a written occlusion protocol that includes stopping injection at first concern and rapid escalation steps.
Long-Term Maintenance and Knowing When to Pause
Lip filler results usually last six to twelve months before a repeat treatment is needed.1 Product type, metabolism, exercise, sun exposure, smoking, and prior treatments all affect duration. Repeated treatments can sometimes extend longevity slightly because of collagen stimulation and residual product.
Ellie’s maintenance approach follows a staged model that supports safety and natural progression. First-time patients start with a conservative volume, often 0.5 mL, to see how their tissue responds before adding more. A two-week review then confirms the settled result and identifies any refinements. Once this baseline is clear, subsequent sessions build gradually, with yearly reviews to ensure facial structure and overall balance remain harmonious as aging continues. Maintenance touch-ups follow how the lips feel and look to the patient rather than a rigid calendar, which helps avoid unnecessary treatment.
Additional filler is not always the right choice. When cumulative product changes natural lip movement, when upper lip length increases with age and extra volume would worsen heaviness, or when surgery would offer a better outcome, Ellie explains this clearly. Her practice relies on the same transparency that guides every recommendation. If a treatment is not necessary or appropriate, she does not suggest it.
Choosing an Injector with True Anatomical Expertise
Selecting an injector for upper lip correction means weighing both technical skill and communication style. These criteria help distinguish anatomy-first providers from volume-focused practices:
- An initial consultation long enough for a full facial evaluation, not a quick intake before injection
- Evidence-based product selection tailored to your lip anatomy, movement, and goals, rather than a fixed menu
- Clear discussion of risks, healing timelines, and the possibility that no treatment or an alternate treatment is the better option
- Supplier-neutral practice, so product choices follow your anatomy instead of brand quotas
- On-site hyaluronidase with a documented occlusion protocol
- A scheduled two-week follow-up as standard, not an optional extra
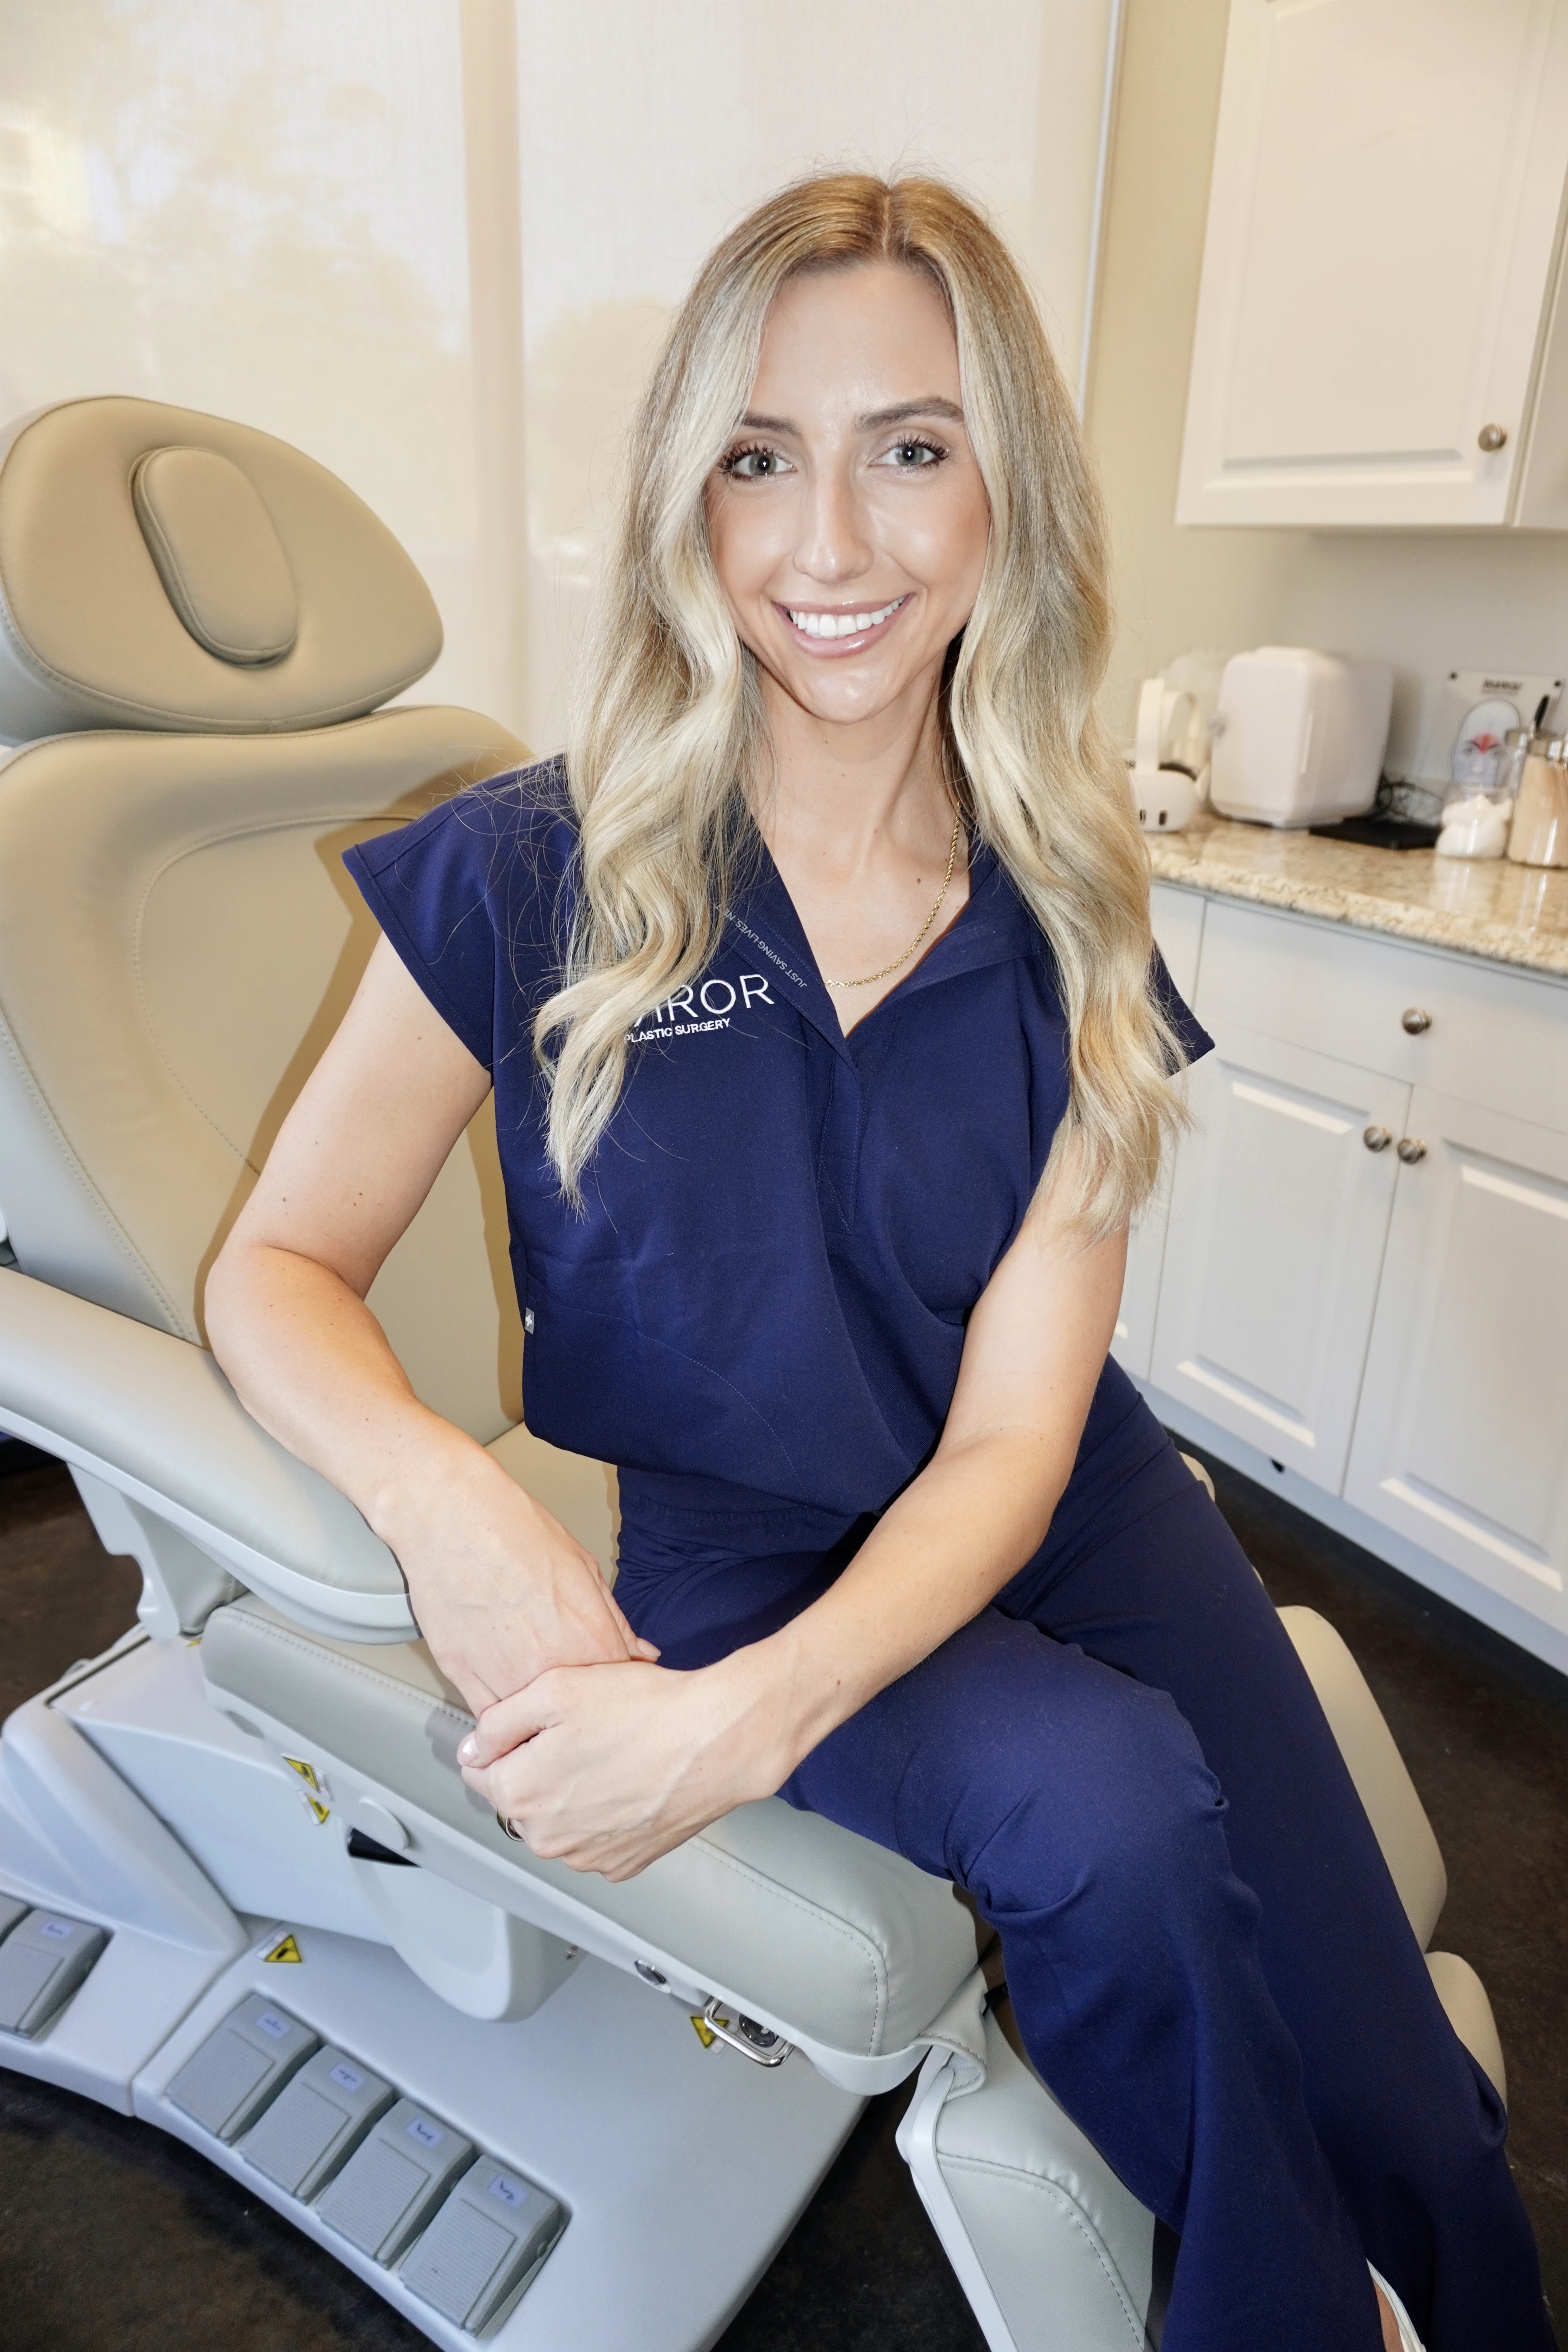
Ellie Pranckevicius brings a rare blend of training to upper lip assessment. Her 600-hour esthetics licensure program, followed by Bachelor’s and Master’s degrees in Nursing from the University of South Florida and four years in the Neuroscience ICU at Tampa General Hospital, provide a strong clinical base beyond cosmetic injection courses. Her combined esthetics and advanced nursing background supports a deep understanding of skin physiology and subdermal anatomy that guides safer, more precise outcomes.
When injectable treatment overlaps with surgical considerations, such as when a lip lift would serve the anatomy better than more filler, Ellie’s work at Mirror Plastic Surgery is complemented by Dr. Akash Chandawarkar, MD, a Harvard-educated, Johns Hopkins-trained plastic surgeon with fellowship training at Manhattan Eye Ear & Throat Hospital.
Frequently Asked Questions
How painful is upper lip filler?
Most patients describe upper lip filler as mildly uncomfortable rather than painful. Topical anesthetic is applied before treatment, and most hyaluronic acid fillers contain lidocaine, which further reduces sensation during injection. The upper lip is more sensitive than the lower lip because of thinner tissue and a denser nerve supply, but the injection phase usually lasts only five to fifteen minutes. Tenderness at injection points is common for two to three days and resolves on its own.
Do lips go saggy after lip fillers?
When hyaluronic acid lip filler is used at conservative, appropriate volumes and allowed to break down naturally, lips gradually return to their pre-treatment appearance without permanent stretching or sagging.1 Sagging becomes more of a concern when very large volumes are placed repeatedly over time, which can stretch tissue beyond its natural elasticity. This risk is one reason Ellie favors staged, conservative treatment with yearly reassessment instead of maximizing volume in a single visit. Patients who pause treatment after years of maintenance usually see a slow return to baseline rather than a sudden or worsened appearance.
Can you just do filler on the top lip?
Upper lip filler can be performed on its own. Many patients have a naturally fuller lower lip and want only definition, projection, or volume restoration in the upper lip. The assessment still considers the relationship between both lips and the rest of the face, because adding volume to the upper lip alone can disrupt the natural ratio if the lower lip is ignored. In some cases, a small adjustment to the lower lip or the corners of the mouth improves the overall result even when the main concern is the upper lip. Ellie will explain whether isolated upper lip treatment suits your anatomy during the consultation.
How do you fix asymmetry after lip filler?
Timing comes first. Most asymmetry seen in the first week comes from uneven swelling, not placement error, and settles by day fourteen. If asymmetry remains after the two-week settling period, the correction plan depends on the cause. Excess or migrated product on one side is treated with targeted hyaluronidase. A volume deficit on one side, often from faster absorption, may be corrected with a small amount of filler on that side. When each side has a different issue, each is addressed individually. Adding filler blindly to the smaller side without diagnosing the cause can worsen the imbalance. A follow-up visit with your injector is always the correct first step.
Next Steps with Mirror Plastic Surgery
Successful upper lip correction with fillers starts with a detailed facial evaluation instead of a volume goal. The three primary techniques described here each serve a specific anatomical purpose, and the right choice depends on skin quality, bone structure, muscle activity, prior treatments, and your goals. Swelling follows a predictable two-week course, and hyaluronidase offers a reliable safety net when adjustments are needed. Long-term results stay most natural when treatment is conservative, reviewed regularly, and paused when your anatomy no longer benefits from more product.
Mirror Plastic Surgery’s concierge model, which includes hour-long consultations, supplier-neutral product selection, on-site reversal protocols, and Ellie Pranckevicius’s combined esthetics and advanced nursing background, supports patients who want a thoughtful, anatomy-driven approach instead of rushed, volume-first care.
Disclaimer: Results may vary from person to person. Editorial content, before and after images, and patient testimonials do not constitute a guarantee of specific results.
1 Results may vary from person to person. Editorial content, before and after images, and patient testimonials do not constitute a guarantee of specific results.