

Written by: Ellie Pranckevicius, FNP-BC, Aesthetic Nurse Practitioner & Aesthetic Injector | Facial Restoration & Regenerative Injectable Specialist, Mirror Plastic Surgery
Key Takeaways
- The lip filler injection process includes a detailed consultation, numbing, precise injections, and a clear recovery timeline for natural-looking results.1
- Consultation is the most critical step, where anatomy, proportions, and goals are reviewed to prevent overfilling and support facial harmony.
- Proper preparation and aftercare, such as avoiding blood thinners, alcohol, and strenuous activity, help limit swelling, bruising, and complications.
- Swelling usually peaks around day two and settles over one to two weeks, with final results visible once the filler integrates at about two weeks.1
- Ready to begin your lip filler journey? Book a consultation at Mirror Plastic Surgery for a personalized assessment and treatment plan tailored to your goals.
How the Lip Filler Injection Process Works
The lip filler injection process includes a thorough consultation, topical numbing, and a series of precise injections of dermal filler into the lips to enhance volume, definition, and shape. The entire procedure typically takes 15 to 30 minutes, with results visible right away and final results appearing after swelling settles, usually around the two-week mark.1
Step 1: Consultation and Assessment for Natural-Looking Lips
A thorough consultation forms the foundation of the entire lip filler process. At Mirror Plastic Surgery, this means a comprehensive, top-to-bottom assessment that can last up to an hour, rather than a quick 10- to 15-minute visit.
The aesthetic assessment for lip filler focuses on lip volume distribution, upper-to-lower lip ratio, the vermilion border, symmetry, and overall facial proportions. Mirror’s lead injector goes further by exploring emotional motivations, reviewing medical history, and evaluating the full face before discussing volume. Her philosophy focuses on restoring and harmonizing facial features first. She considers augmentation only after she establishes a balanced foundation, which helps avoid an overdone look from isolated, single-area injections.
The consultation also sets realistic expectations. A conservative, multi-staged initial approach is advisable for treatment-naïve patients to reduce the risk of overfilling. She may even advise that a procedure is not necessary yet, which supports long-term trust and satisfaction.
Book a consultation to receive a personalized lip filler assessment grounded in anatomy, honesty, and your long-term goals.
Step 2: Preparation and Numbing for a Comfortable Visit
Before injections begin, the lips are cleansed thoroughly. A topical numbing cream is applied and left on for 15 to 30 minutes. On the day of a lip filler appointment, a topical anesthetic is applied 15 to 30 minutes before injections, and most modern dermal fillers contain integrated lidocaine to further reduce discomfort during the injection.
Patients can support comfort by preparing in advance. Stopping NSAIDs such as aspirin, ibuprofen, and naproxen 7 to 10 days before treatment, with a doctor’s approval, reduces bruising risk by preserving platelet function. Avoiding alcohol for at least 24 to 48 hours before treatment also reduces post-injection swelling and bruising, since alcohol widens blood vessels.
One important clinical detail involves anesthetic choice. Adrenaline-containing anesthetic solutions should be avoided during filler injection because they can mask early blanching, a key warning sign of vascular compromise. A skilled injector protects safety monitoring rather than trading it for stronger numbing.
Step 3: Injection Technique and Tools Your Injector Uses
Anatomical expertise during injection strongly influences how natural the final result looks. Two primary instruments are used in lip filler injection: a sharp needle and a blunt-tipped cannula. Many expert injectors use a hybrid approach and select the right tool for each lip area.
For lip border definition and Cupid’s bow enhancement, a sharp needle, typically 30-gauge, provides direct, precise placement via linear threading or serial puncture, with entry points usually marked 2 to 3 mm medial to the corners of the mouth. For lip border, philtrum, and Cupid’s bow, a needle is required because fine anatomical work at the vermilion border needs needle precision that cannulas cannot achieve.
For adding volume to the body of the lip, a cannula often offers advantages. A blunt cannula is threaded through tissue from a single entry point, which can reduce bruising and vascular risk for lip body volumization, as it tends to push vessels aside rather than pierce them. A cohort study of 370 dermatologists found intravascular occlusion occurred in roughly 1 in 6,410 syringes injected with needles, compared to 1 in 40,882 with microcannulas.
Injection depth also plays a major role. Layered injection for lip fillers targets three distinct tissue layers: the deep submucous layer for support and volume, the middle muscular layer for contour shaping, and the superficial dermal layer for texture and fine lines. After each layer, the injector gently massages the area to support smooth, even distribution.
Filler should not be placed into the white roll, the raised ridge just above the vermilion border, because dermal filler attracts water and creates a blunted, unnatural-looking lip margin rather than crisp definition. Ellie’s deep understanding of surface and subdermal anatomy, supported by her dual background in esthetics and advanced nursing, guides every placement decision.
Step 4: Pain Management and What Lip Filler Feels Like
Most first-time patients want a clear sense of how lip filler feels. Discomfort is usually manageable. Patients often describe a quick pinprick or mild stinging at each injection point, softened by numbing cream and the lidocaine present in most modern fillers.
Lip filler injections are brief, typically taking 15 to 30 minutes, during which a qualified injector assesses lip structure, injects in small controlled amounts, and checks symmetry throughout the process. Additional comfort measures such as ice, vibration, and calm verbal guidance can ease discomfort further. Local vibration reduces pain during injection by stimulating Meissner’s and Pacinian corpuscles, with a clinical trial showing a 40% reduction in pain.
At Mirror Plastic Surgery, patient comfort receives careful attention. The provider will pause when needed, and no step of the process is rushed.
Step 5: Immediate Aftercare and Lip Shaping in the First Hours
Immediately after injection, the provider may apply ice and gently massage the lips to support smooth filler distribution. Clear aftercare instructions are reviewed before you leave.
Expect some swelling and redness right away, which is normal. Immediately after lip filler injection, expect 20 to 30% enlargement beyond the final result.1 The lips seen in the first few hours represent an early stage, not the final outcome.
For the first few hours after treatment:
- Avoid touching, pressing, or massaging the lips.
- Avoid sleeping face-down and getting facial massages within 48 hours, as physical pressure can shift the product and distort the final shape.
- Apply a clean, cool compress in 10-minute intervals, and avoid continuous ice directly on the skin.
- Avoid strenuous exercise for at least 24 hours.
Step 6: Recovery Timeline and When to Reach Out
Swelling after lip filler peaks at 24 to 48 hours and resolves progressively over 3 to 7 days, with the final result visible at 2 to 4 weeks after product integration.1 Here is a typical timeline.
- Day 1: Patients typically experience immediate swelling, redness, tenderness, and a 20 to 30% enlargement in lip size. Use ice and keep the head elevated.
- Day 2: Swelling often feels most intense. At hour 36, lip filler swelling reaches its peak at 80 to 100% above the placement volume, and the lips may look asymmetric, which is normal. The day-2 photograph does not reflect the final result.
- Days 3–5: Swelling usually begins to improve, although mild puffiness or asymmetry may remain. Most patients feel comfortable returning to social activities by day 5.
- Days 7–14: Dermal fillers reach their final rheological equilibrium, settling into their definitive shape and hydration state, at approximately 14 days post-injection,1 which is why the two-week review appointment is standard.
If unevenness persists after two weeks, a follow-up appointment may help with minor adjustment. Swelling from lip fillers peaks around day two and resolves significantly by day five to seven, and patients should wait two weeks before judging the final result.
Step 7: Risks, Safety, and Warning Signs
Lip filler has an established safety profile when a qualified, experienced injector uses FDA-approved products. Common side effects such as swelling, bruising, redness, and tenderness are temporary. Bruising after lip filler occurs in 10 to 20% of cases and resolves in 3 to 5 days.
The most serious risk is vascular occlusion, a blockage of blood flow caused by filler entering or compressing a blood vessel. Vascular occlusion occurs in roughly 0.01 to 0.05% of all dermal filler procedures. Recognizing warning signs early is essential.
Seek immediate medical attention if you experience any of the following:
- Severe pain that worsens rather than improves.
- Blanching (skin turning white), mottled or net-like reddish-blue discoloration, or slow capillary refill exceeding three seconds.
- Skin turning blue, gray, or dusky.
- Vision changes of any kind.
- Blistering or ulceration.
For dermal fillers, the primary treatment for vascular occlusion is the enzyme hyaluronidase, which dissolves the filler plug, and current protocols call for relatively high doses injected directly into the affected tissue, repeated hourly until blood flow is restored. At Mirror Plastic Surgery, safety remains the top priority, and the team trains regularly to recognize and manage complications.
Only FDA-approved fillers such as Juvederm, RHA, Restylane, and Versa should be used. The FDA warns against purchasing dermal fillers online or using needle-free injection devices because of safety risks, and advises patients to work with a licensed healthcare provider who has experience with dermal fillers, understands anatomy, and is trained to manage complications.
Step 8: Longevity, Maintenance, and Pricing
Dermal lip fillers typically last 6 to 12 months on a first treatment, with longevity influenced by metabolism, filler volume, and the specific product used, and results often last longer with subsequent treatments as the tissue adapts.1 Maintenance treatments help sustain and gradually build results.
Cost depends on the amount of filler needed and the provider’s expertise. Mirror Plastic Surgery is a supplier-neutral practice, so product recommendations reflect what best fits your anatomy and goals. Each patient receives a personalized quote during their consultation.
Book a consultation with Ellie to discuss which FDA-approved filler suits your lip anatomy, and to receive a personalized treatment plan with clear, honest guidance.
Frequently Asked Questions
How long does 0.5 ml lip filler take to settle?
A 0.5 ml treatment follows the same settling timeline as larger volumes. Swelling peaks around day two and subsides significantly by days five to seven. The filler reaches its final rheological equilibrium, meaning it has fully integrated with surrounding tissue and stabilized its hydration, at approximately 14 days post-injection.1 Some patients see the last 10 to 20% of residual puffiness resolve between weeks two and four. The two-week mark is the standard point for assessing results, and touch-up decisions should wait until that time. Because 0.5 ml is a conservative starting volume, results usually look very natural once settled.
What is forbidden after lip fillers?
In the first 24 to 48 hours, avoid alcohol, strenuous exercise, saunas, steam rooms, hot tubs, and direct heat exposure, all of which dilate blood vessels and worsen swelling and bruising. Do not touch, press, or massage the lips, and avoid sleeping face-down. Skip straws and tight pursing of the lips. For the full two weeks following treatment, avoid dental procedures requiring lip retraction, high-impact exercise, facial treatments that apply pressure to the lip area, laser treatments, and chemical peels near the treated area. Retinoids, AHAs, BHAs, and low-pH vitamin C formulations should also be paused immediately after treatment, as they can compromise barrier integrity and intensify inflammation on recently injected tissue. Lipstick and lip products can typically be reapplied once injection points have fully closed, usually within 24 to 48 hours.
Can guys feel lip fillers when kissing?
Once lip filler has fully settled, typically by the two-week mark, it integrates naturally into the lip tissue and moves with the lip during all normal activities, including kissing, talking, and eating. Well-placed filler using an appropriate product for the lip body, usually a softer formulation with lower firmness, is designed to feel natural, not stiff or foreign. In the first week or two, lips may feel slightly firmer than usual as the filler integrates and residual swelling resolves. After that period, most partners report no noticeable difference. Overfilled lips or filler placed too superficially can feel unnatural, which is one reason conservative volume and correct injection depth matter so much.
How long do lip fillers last?
Lip filler results typically last 6 to 12 months for a first treatment, though this varies based on the specific product used, the volume injected, and individual metabolism.1 The lips break down filler faster than most other facial areas because of constant movement from speaking, eating, and facial expression. Smaller volumes, such as a 0.5 ml treatment, may metabolize more quickly than larger volumes. With repeat treatments over time, results often last longer as the tissue adapts and a more stable base is established. Ellie will recommend the most appropriate product and volume for your anatomy and lifestyle during your consultation.
What should I avoid before getting lip fillers?
Stop blood-thinning medications and supplements, including aspirin, ibuprofen, naproxen, fish oil, omega-3 fatty acids, vitamin E, ginkgo biloba, and garlic, 7 to 10 days before your appointment, with your doctor’s approval, to minimize bruising. Avoid alcohol for at least 24 to 48 hours before treatment. Stop retinoids and exfoliating acids 48 hours prior to reduce skin sensitivity. Arrive with a clean, makeup-free face, after a light meal and good hydration. If you have a history of cold sores (herpes simplex virus), disclose this to your injector, as you may be prescribed antiviral prophylaxis to reduce the risk of reactivation triggered by needle trauma. Avoid scheduling lip filler during an active cold sore outbreak. Avoid dental appointments for two weeks before treatment as well.
Your Journey to Natural, Beautiful Lips
The lip filler injection process is a multi-step, highly personalized medical procedure. The difference between a natural result and an overdone one depends on the injector’s anatomical expertise, commitment to a thorough consultation, and focus on your long-term well-being. At Mirror Plastic Surgery, that commitment shapes every appointment, from the initial assessment to the follow-up care that confirms your results match your vision.
Mirror’s lead injector brings a rare combination of esthetician training and advanced nursing expertise to every injection. An anatomy-first philosophy, paired with Mirror’s concierge approach to medicine, means you will not feel rushed or pressured, and your questions receive clear answers.
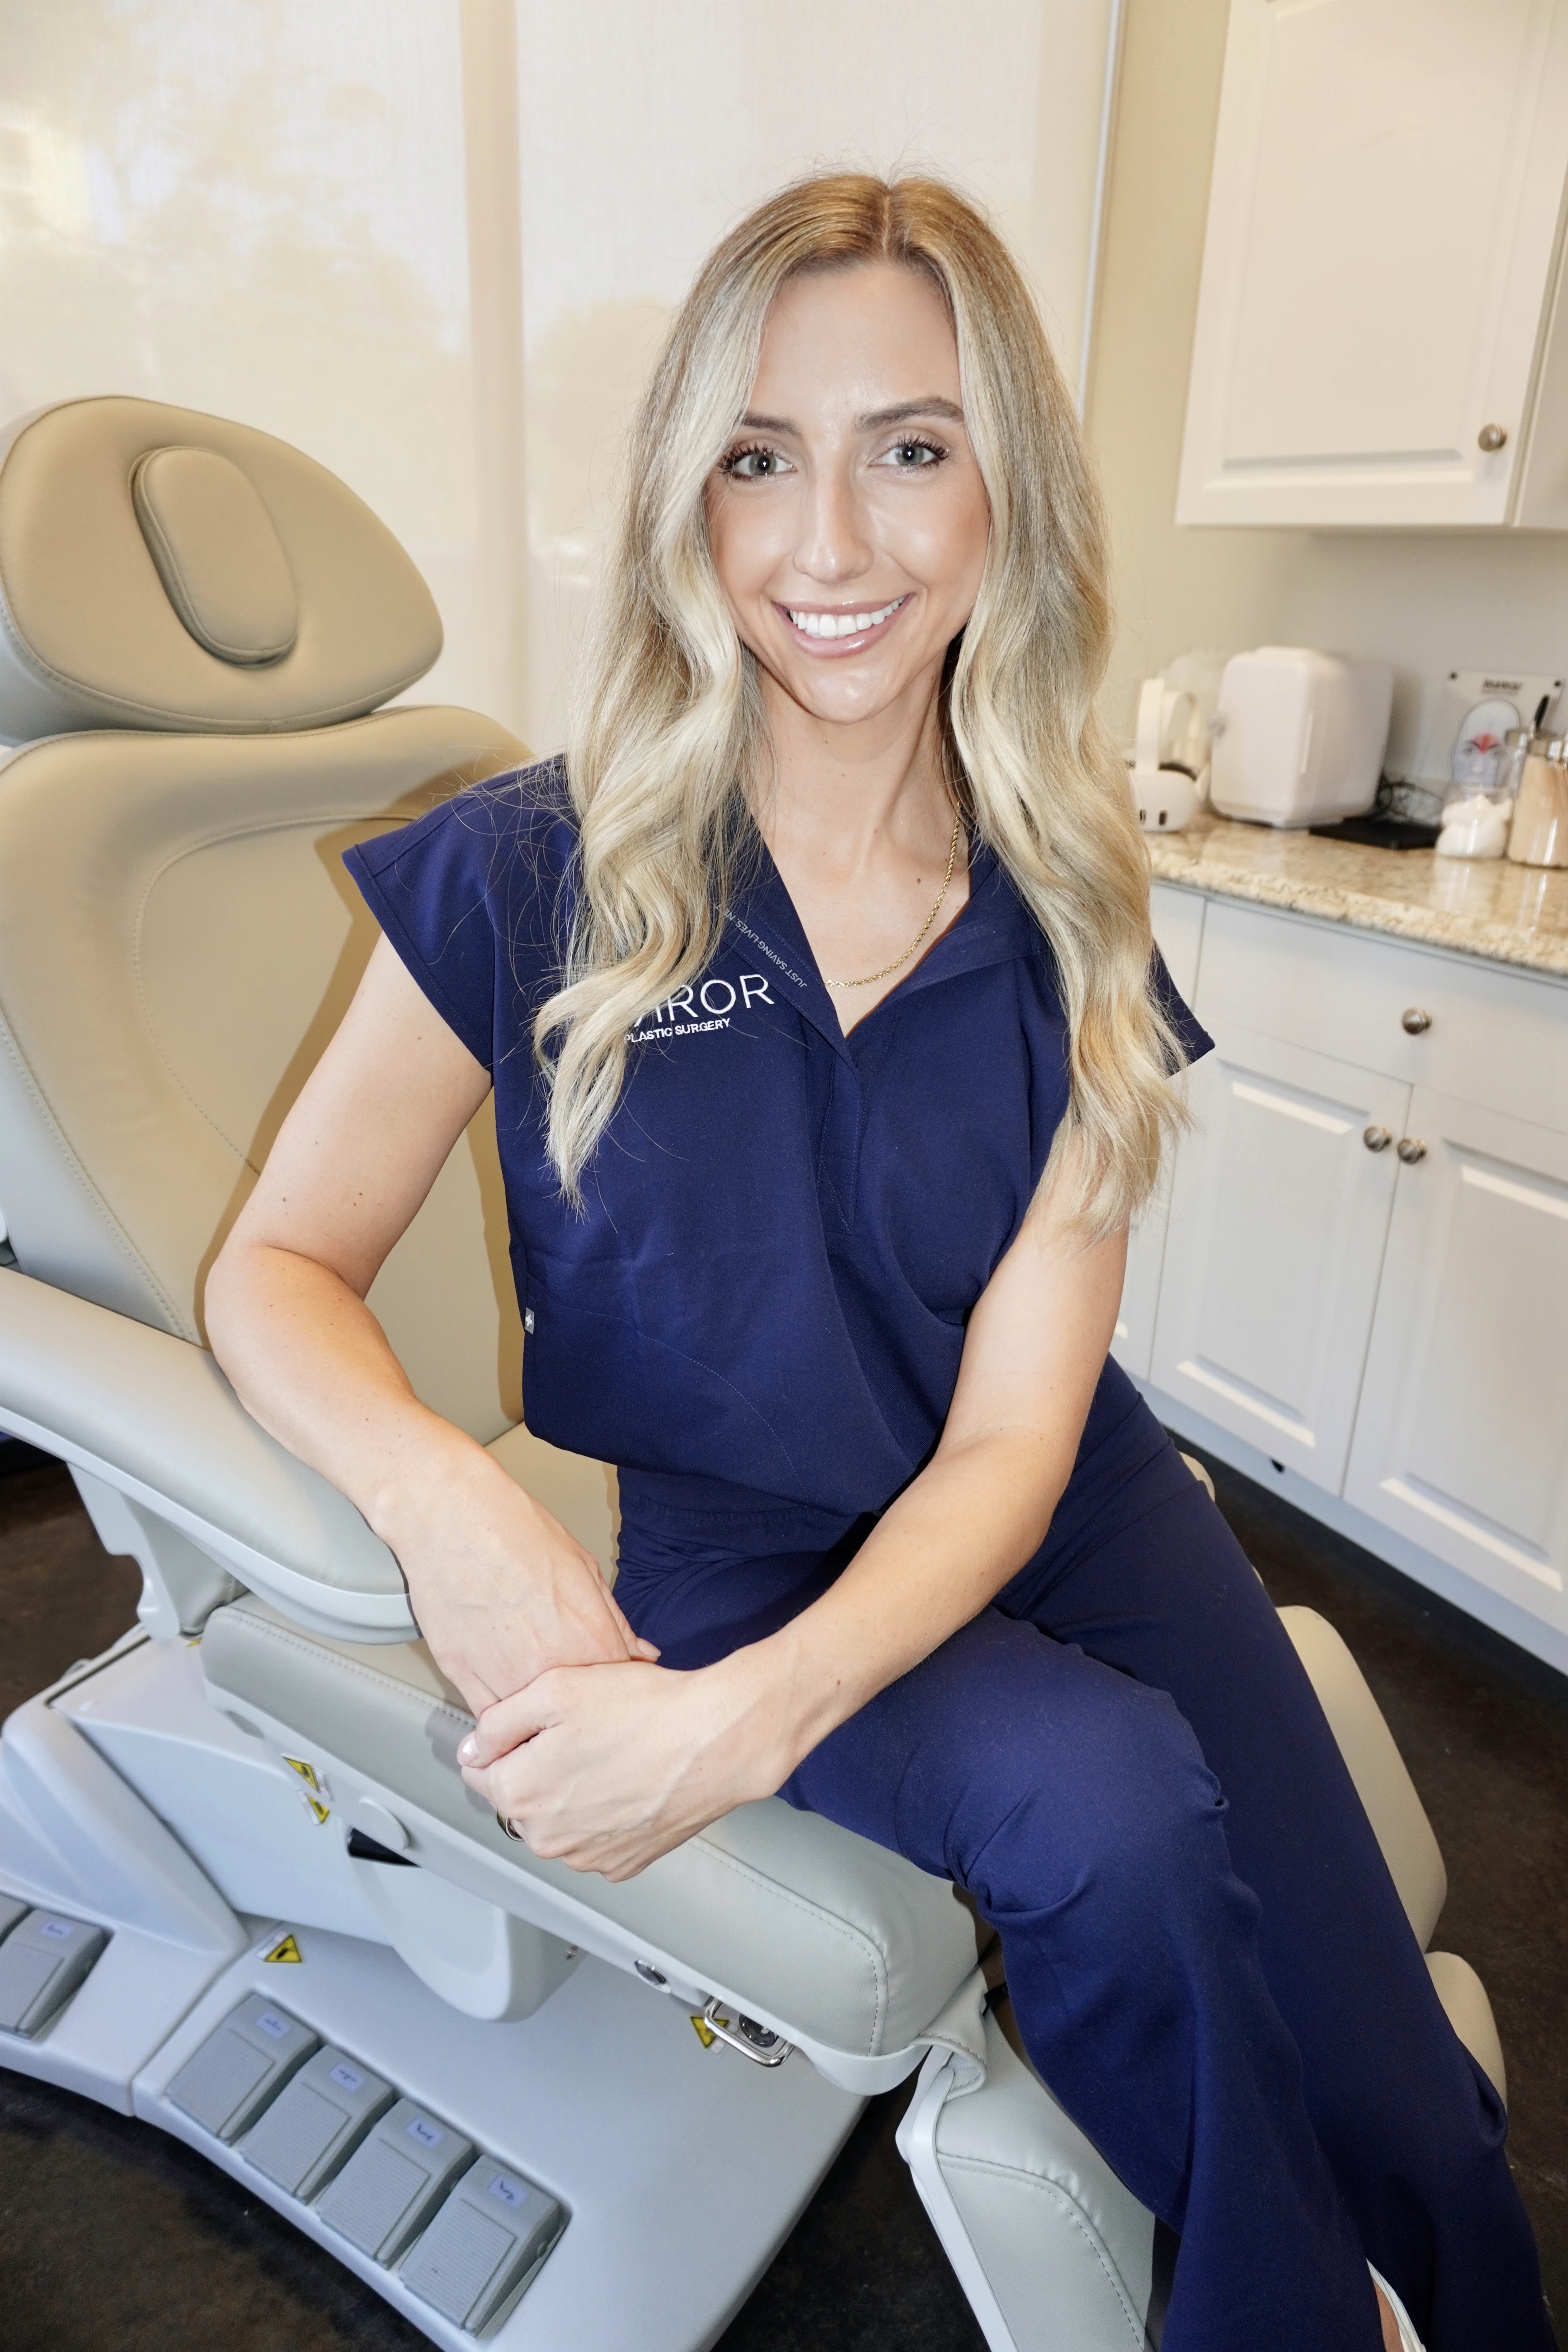
Ready to Take the Next Step? Book Your Consultation Today
If you are considering lip filler in the St. Petersburg or Tampa Bay area, Mirror Plastic Surgery offers a personalized, safety-first experience. Book a consultation with Ellie today to discuss your goals, review your options, and receive a treatment plan built around your unique anatomy.
Mirror Plastic Surgery is located at 780 4th Ave S, St. Petersburg, FL 33701. You can reach the team by phone or text at 727-361-6515, or by email at hello@mirrorplasticsurgery.com.
Disclaimer: Results may vary from person to person. Editorial content, before and after images, and patient testimonials do not constitute a guarantee of specific results.
1 Results may vary from person to person. Editorial content, before and after images, and patient testimonials do not constitute a guarantee of specific results.