

Written by: Ellie Pranckevicius, FNP-BC, Aesthetic Nurse Practitioner & Aesthetic Injector | Facial Restoration & Regenerative Injectable Specialist, Mirror Plastic Surgery | Last updated: July 30, 2026
Key Takeaways for Natural, Blended Filler Results
- A natural blended look comes from treating the face as a layered system and rebuilding structure from deep planes outward, not just using less product.
- Foundation-first sequencing creates stability, because deep structural support must be in place before any superficial refinement begins.
- Product choice must match tissue mechanics using G-prime tiers, with low density for thin-skin zones, medium for dynamic folds, and high for structural areas such as cheeks and jawline.
- Conservative micro-droplet layering across multiple planes, combined with review-led maintenance, helps prevent an overfilled look and supports long-term natural results.
- Schedule your personalized assessment at Mirror Plastic Surgery to start planning subtle, balanced changes that blend seamlessly with your features.
Defining a Natural, Blended Filler Result
A natural blended look means each facial feature transitions smoothly into the next, while proportions stay true to your own bone structure. No single area should appear isolated or noticeably fuller than its neighbors. Three connected principles guide every treatment decision that supports this outcome.
The first principle is conservative dosing. Small, precise deposits can create meaningful improvement at six months, and these targeted placements often outperform large boluses when the goal is subtle correction.1
The second principle is foundation-first sequencing, which places deep structural support before any surface-level refinement. This sequencing then enables the third principle, micro-droplet layering, where small aliquots are distributed across multiple tissue planes so the product blends with surrounding anatomy instead of sitting as a distinct mass.
How Ellie Assesses Your Face and Sets Realistic Goals
A natural result starts before the first injection. At Mirror Plastic Surgery, Ellie Pranckevicius performs a detailed, top-to-bottom anatomical evaluation that can last up to an hour. She maps bony landmarks, fat compartment volume, skin thickness, and movement patterns across the upper, middle, and lower thirds of the face.
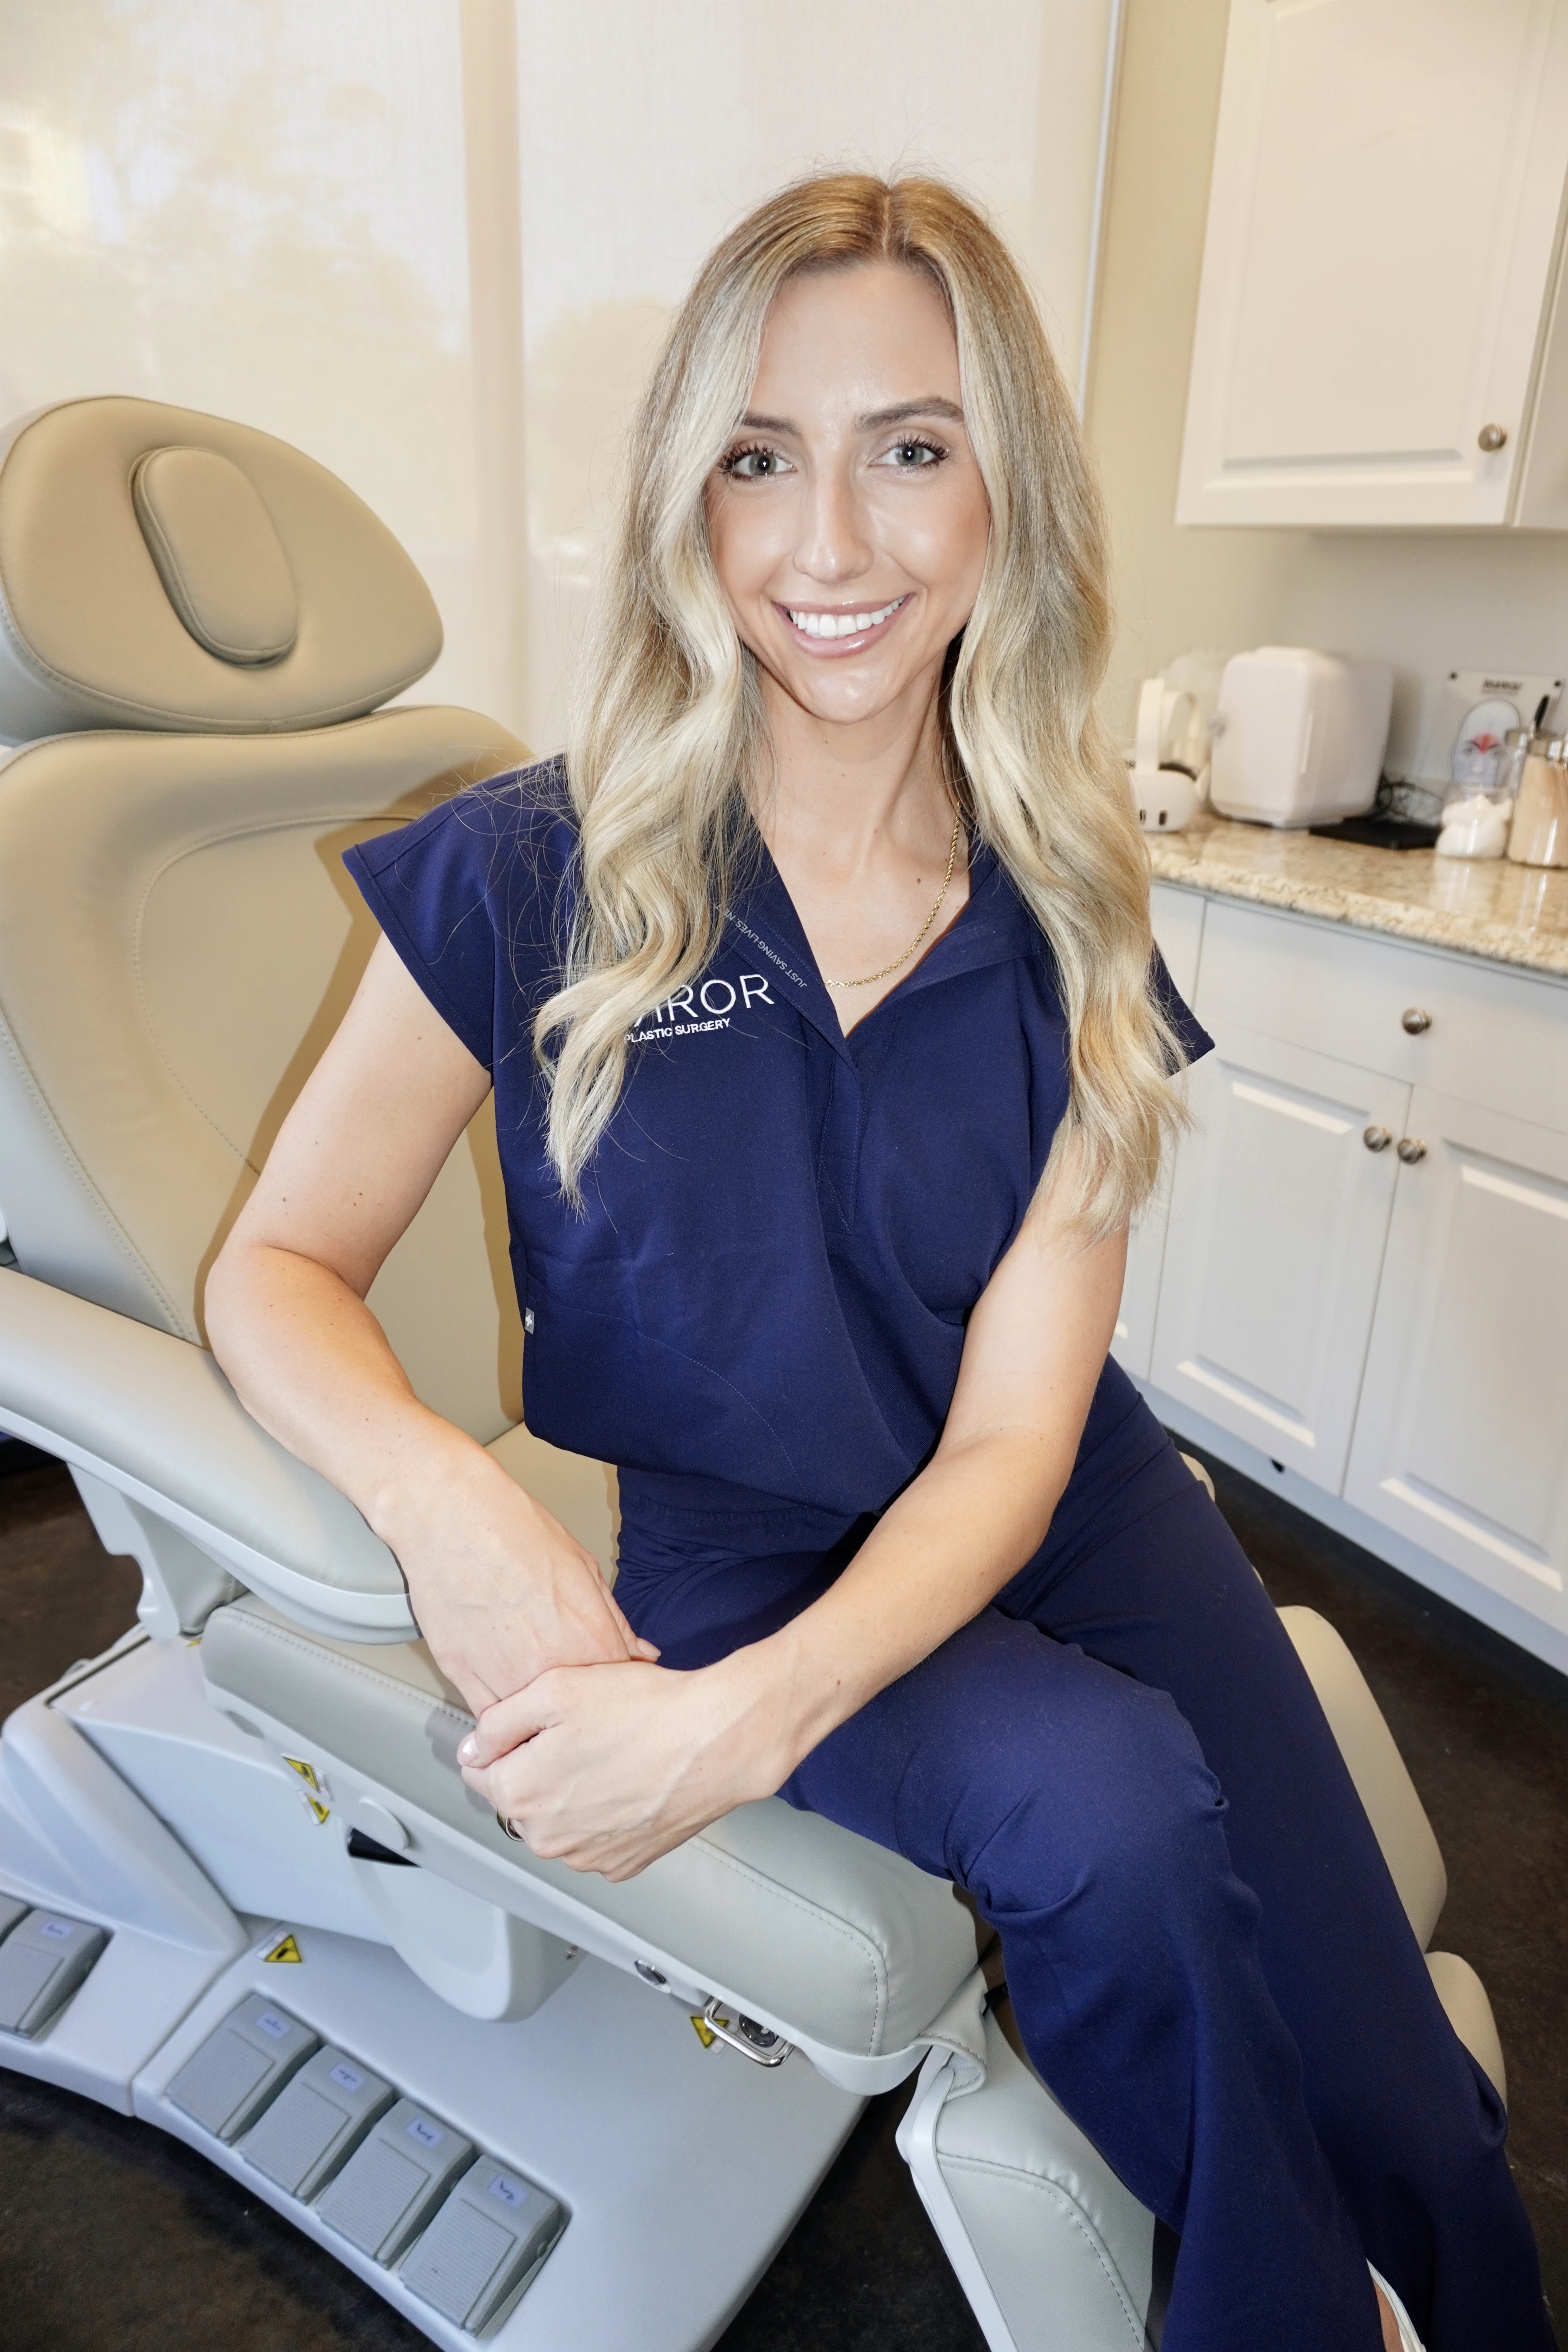
She also explores the emotional reasons behind your request. Many patients arrive focused on a single area, such as the lips or nasolabial folds, even though the true deficit lies in the midface. Treating the wrong zone first creates an isolated, unblended look that discerning patients want to avoid.
The assessment sets a clear, staged timeline. Spreading treatments across multiple sessions allows each stage to settle, lets you and Ellie review results before moving on, reduces cumulative swelling, and consistently produces more natural-looking outcomes than treating everything in one visit.
Rebuilding Deep Facial Support with Foundation Restoration
Facial aging starts with bony resorption around the orbits, maxilla, and mandible, which weakens support for deep fat pads. Restoring structure from the bone upward, instead of adding volume only near the surface, provides a stable base for subtle refinement.
Rod J. Rohrich, MD, and co-authors describe this as balanced restoration, where tentpole injections are first placed into deep fat compartments such as the medial and lateral SOOF and deep medial cheek fat to create structural support. After this, superficial compartments are refined. Temples and the pyriform aperture are treated at this stage because volume loss there destabilizes the entire midface scaffold.
This deep-first approach is supported by clinical evidence. Multilayer facial augmentation can improve patient satisfaction and aesthetic scores at six months, which reinforces the value of deep-first structural sequencing.1
Mid-Layer Support to Smooth Transitions
Once deep compartments are stable, the mid-layer focuses on transition zones, where volume loss creates visible steps or shadows between structural anchors. This stage treats the superficial medial cheek fat, the nasolabial fat compartment, and the infraorbital fat to create a continuous contour from the zygomatic arch to the lower lid.
Over-reliance on large volumes of stiff fillers only in deep fat compartments can cause animation deformity, visible filler when smiling, and an overfilled look due to upward tissue displacement and interference with zygomaticus muscle function. Mid-layer treatment spreads the correction across compartments, reduces the burden on any single plane, and helps preserve natural facial movement.
Surface-Level Refinement with Micro-Droplet Placement
With deep and mid-layer support in place, superficial refinement targets fine lines, skin quality, and small contour details. The micro-droplet technique places 0.01–0.05 mL aliquots intradermally or subdermally using serial puncture or linear threading. Product is spread evenly so no individual deposit can be felt or seen.
A 2026 cohort study using linear threading, serial puncture, and small-aliquot fanning with a low-modification monophasic filler reported no clinically apparent granulomas or delayed nodules over 24 months of follow-up, with near-complete clinical resolution and no sonographically visible residual filler at two years.1 These findings support conservative superficial layering as a way to achieve durable results without long-term accumulation.
Matching Filler Density to Each Facial Zone
Choosing the right filler for each area matters as much as injection technique. Just as you would not repair delicate fabric with rigid metal, using a very stiff structural filler in thin, mobile areas such as the lips can create visible lumps and unnatural firmness. The key variable that guides this match is G-prime (G′), the elastic storage modulus measured in Pascals, which predicts how a gel resists deformation under tissue forces.
When filler rheology does not match the target anatomy, problems such as clumping, the Tyndall effect, displacement, poor contour, unnatural firmness, visible ridging, or migration can occur. This integration challenge becomes more pronounced in older skin, where a weakened dermal matrix further limits smooth blending. In those cases, lower G-prime products with high cohesivity are usually preferred for superficial planes.
Mirror Plastic Surgery remains supplier-neutral. Ellie selects from Juvederm, RHA, Versa, Restylane, Radiesse, and Evolysse based solely on how each formulation fits the patient’s anatomy, skin quality, and treatment zone.
How Ellie Chooses Between Cannula and Needle
The choice between cannula and needle affects both safety and how smooth the final result appears. This decision depends on the target plane, the product used, and the vascular risk profile of the area.
Needles still offer specific advantages. Sharp needles often work best for static periosteal injections after careful aspiration, while cannulas are frequently preferred for retrograde injection in loose tissues where broader spread and lower trauma are desired.
This choice directly affects both safety and the smoothness of your result. The practical framework Ellie uses is as follows:
- Needles: tear trough (deep supraperiosteal), chin periosteal bolus, and deep medial cheek structural support, which all require exact depth control and direct tactile feedback on bone.
- Cannulas: nasolabial folds, jawline, cheek mid-layer, and temples, where retrograde threading in loose tissue lowers vascular risk and reduces trauma.
Zones to Avoid and Behaviors That Create an Overfilled Look
High-density fillers do not belong in every area, even if they last longer, because they are suitable only for specific facial zones. Using structural-grade product in thin-skin areas such as the tear trough or lips often causes firmness, the Tyndall effect, and an unnatural appearance that can be challenging to reverse.
The following checklist highlights red-flag provider behaviors that often predict overfilled outcomes:
- Recommending the same product for multiple zones without explaining G-prime or tissue depth
- Skipping neuromodulator assessment before placing volumizing filler in dynamic areas
- Proposing treatment of isolated areas without reviewing the full face
- Scheduling touch-up appointments on a fixed calendar instead of a review-led schedule
- Performing injections in non-medical settings
- Failing to explain the anatomical reasoning behind product selection
Patients who receive top-ups every four months for years often accumulate product that distorts proportions and creates an overfilled look. A qualified injector will decline a maintenance visit when there is no clear clinical indication.
Healing, Blending, and Maintenance Over Time
Swelling from filler injections usually settles within 7–14 days. Dermal fillers generally require a 2–4 week settling period before adding further treatment in adjacent areas. Final results in deeper structural planes are typically reviewed at six weeks, when edema has resolved and the product has integrated with surrounding tissue.
For most filler treatments in the cheeks, midface, jawline, temples, and undereye, patients return for their first assessment when the initial correction has fully settled, usually around the six-month mark mentioned earlier, and again at 9–12 months. Decisions focus on whether the correction still meets the intended goal, not simply on whether product remains.
Lip filler usually needs a refresh at 6–9 months because the lips have high metabolic activity, while well-placed tear trough filler in a suitable low-G-prime product can last much longer. Lower-volume, less frequent treatment can provide durable results comparable to higher-volume regimens, with responder rates maintained at 12 months in both conservative and standard dosing groups.1
Choosing an Injector Who Prioritizes Natural Results
Provider selection has the greatest impact on your outcome. The American Academy of Dermatology notes that serious side effects from dermal fillers occur more often when the injector lacks adequate medical training and experience, and advises patients to seek treatment only from qualified providers with proven expertise and many satisfied patients.
Before booking, confirm the following credentials:
- Advanced nursing or medical degree with documented aesthetics training hours
- Demonstrated knowledge of facial anatomy across all five tissue layers
- Ability to explain product selection by zone and G-prime tier
- Supplier-neutral practice without quota-driven product recommendations
- Access to hyaluronidase and a clear vascular occlusion protocol
- Willingness to advise against treatment when it is not indicated
Ellie Pranckevicius, FNP-BC, holds a Master’s in Nursing from the University of South Florida, completed 600 hours of hands-on aesthetics training, and spent four years in the Neuroscience ICU at Tampa General Hospital before joining Mirror Plastic Surgery. Her combined background in esthetics and advanced nursing gives her a detailed understanding of both surface and subdermal anatomy, which directly guides her injection choices. She practices within a clinic founded by Dr. Akash Chandawarkar, a Harvard-educated, Johns Hopkins-trained plastic surgeon with fellowship training at Manhattan Eye Ear & Throat Hospital.
Frequently Asked Questions About Natural Filler Results
Best Filler Types for a Natural Look
No single filler brand guarantees a natural look, because the product must match the mechanical properties of the target tissue. Low G-prime fillers below about 150 Pa with high cohesivity work well in thin-skin zones such as the tear trough and lips, where they spread gently without causing firmness or the Tyndall effect. Medium G-prime products suit dynamic folds such as nasolabial lines. High G-prime structural fillers above about 350 Pa belong in deep compartments such as the cheeks, chin, and jawline, where they resist compression and hold shape. At Mirror Plastic Surgery, Ellie chooses among Juvederm, RHA, Versa, Restylane, Radiesse, and Evolysse based entirely on how each formulation fits the patient’s anatomy and treatment zone.
Steps Ellie Uses to Keep Filler Results Looking Natural
Natural results come from treating the face as a connected anatomical system instead of chasing isolated concerns. The foundation-first method restores deep support in the temples, cheeks, and pyriform region before any surface refinement. This approach avoids the common pattern of overfilling a single area, such as the lips or nasolabial folds, while leaving neighboring zones untreated, which creates a “done” appearance.
Ellie uses conservative dosing with small aliquots spread across multiple planes and matches product density to each zone. This combination allows filler to blend with surrounding tissue instead of forming a visible lump. She also follows a review-led maintenance schedule, where touch-ups occur only when there is a clear clinical need rather than on a fixed calendar.
Filler Strategies That Work Well for Older Skin
Older skin often shows a weakened dermal matrix with reduced collagen, elastin, and natural hyaluronic acid. This environment makes it harder for high-G-prime structural fillers to integrate smoothly in superficial planes and raises the risk of visible irregularities. For older skin, Ellie often combines a biostimulatory agent, such as Radiesse for deep structural zones, with low-G-prime, high-cohesivity products for surface refinement.
Skin booster treatments that improve dermal hydration and stimulate fibroblasts can be scheduled before volumetric filler. This sequence strengthens the dermal matrix and can extend how long the results look fresh. Ellie’s assessment includes a close review of skin quality, thickness, and elasticity to design a product and plane combination that supports natural integration for each patient.
Activities Ellie Asks You to Avoid After Filler
During the first 7–14 days after filler treatment, patients should avoid intense exercise, saunas, steam rooms, and prolonged heat or sun exposure, because these factors increase blood flow and can worsen swelling or bruising. Alcohol intake should stay low for 24–48 hours, since it promotes vasodilation and edema.
Facial massage, pressure on treated areas, and sleeping face-down are discouraged for the first 48 hours to reduce the risk of product displacement. Energy-based treatments such as laser, radiofrequency, and ultrasound should be scheduled at least 4–6 weeks after filler in the same area, because thermal energy can degrade hyaluronic acid and increase inflammation. Patients should also wait 2–4 weeks before adding filler to neighboring areas so the initial treatment can settle and be assessed accurately.
Next Steps Toward a Natural, Blended Result
A natural blended look depends on anatomical sequencing rather than sheer volume. It involves restoring deep structural support before surface work, matching product rheology to tissue mechanics in each zone, choosing the right instrument for each plane, and maintaining results through review-led visits instead of automatic top-ups. Every stage relies on the injector’s anatomical expertise and commitment to long-term outcomes over short-term volume.
Ellie Pranckevicius and the team at Mirror Plastic Surgery in St. Petersburg apply this standard of care to every consultation. Your experience begins with a comprehensive top-to-bottom assessment and concludes with a personalized, evidence-based treatment plan tailored to your anatomy, your goals, and your long-term well-being.
Disclaimer: Results may vary from person to person. Editorial content, before and after images, and patient testimonials do not constitute a guarantee of specific results.
1 Results may vary from person to person. Editorial content, before and after images, and patient testimonials do not constitute a guarantee of specific results.