

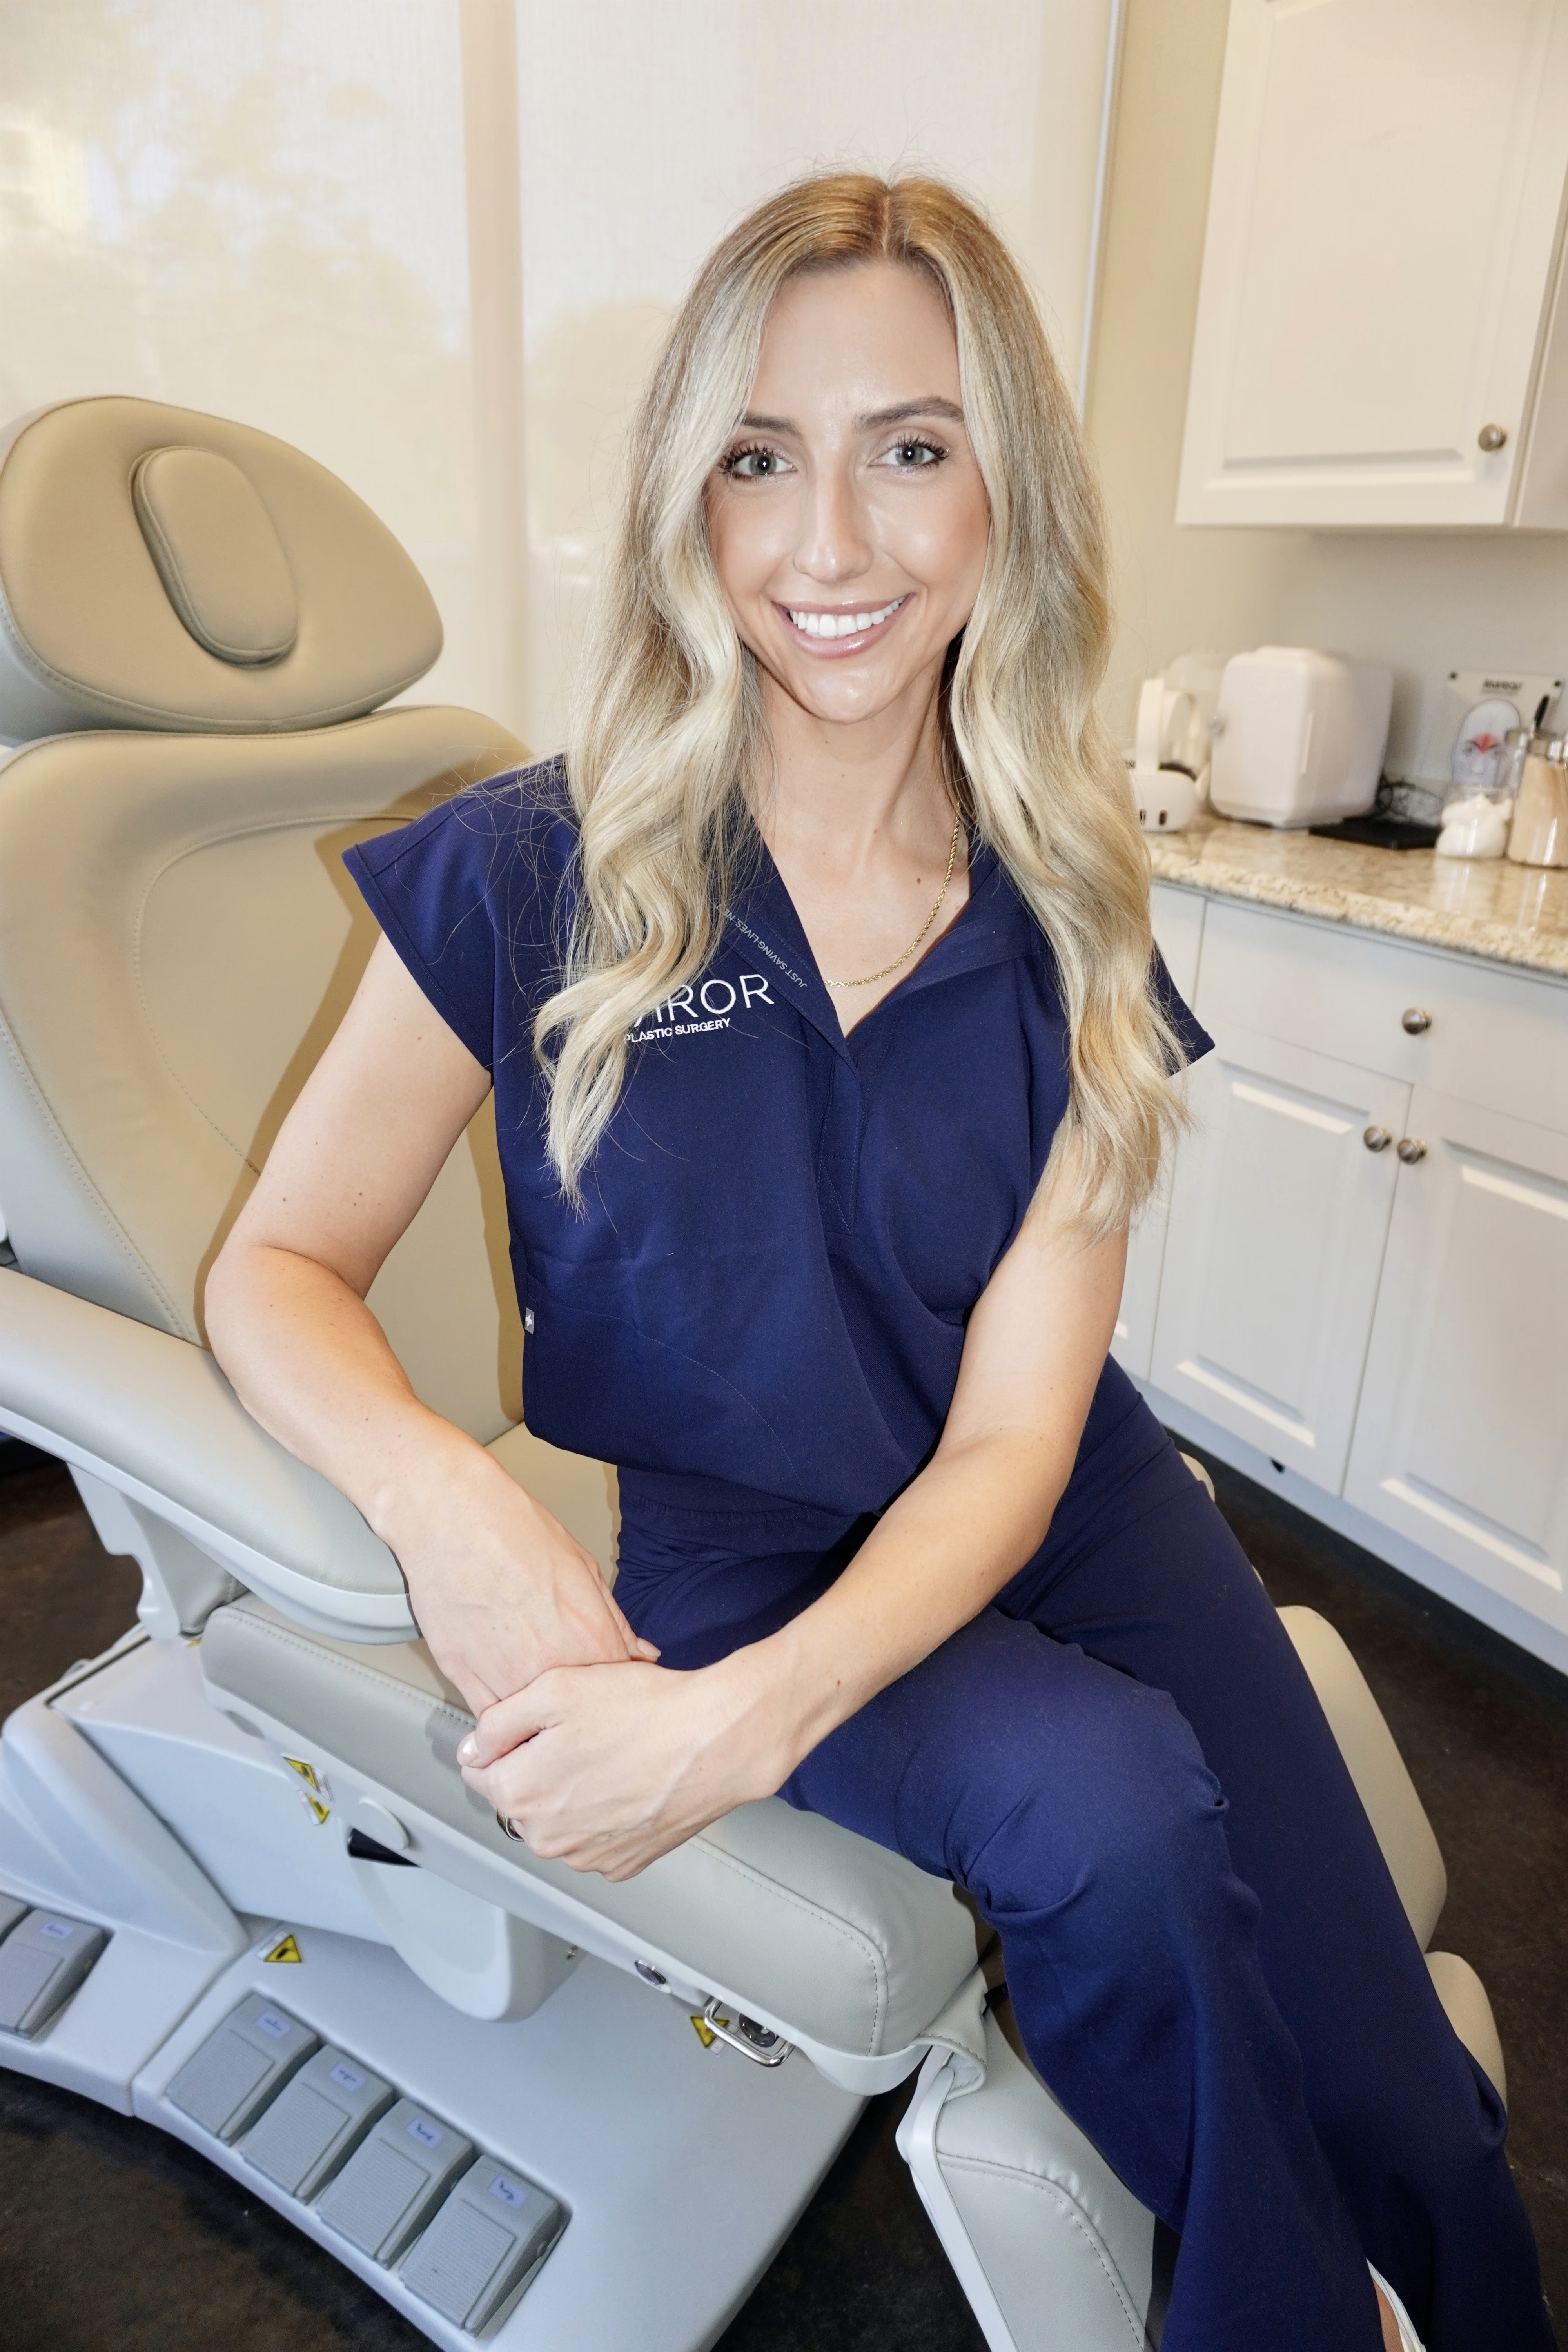
Written by: Ellie Pranckevicius, FNP-BC, Aesthetic Nurse Practitioner & Aesthetic Injector | Facial Restoration & Regenerative Injectable Specialist, Mirror Plastic Surgery
Key Takeaways for Low-Pain GLP-1 Injections
-
GLP-1 and GLP-3R self-injection is a learnable skill that feels less intimidating with clear preparation and consistent technique.
-
Key comfort steps include warming medication to room temperature, letting alcohol dry fully, and matching pinch technique to your body type.
-
Rotating injection sites across six zones and logging each injection helps prevent lipohypertrophy and supports steady absorption.
-
Most pain issues improve when you warm the vial, let alcohol dry, inject slowly, and use an appropriate finer-gauge needle.
-
Patients who want personalized GLP-1 or GLP-3R protocols with expert oversight can schedule a consultation at Mirror Plastic Surgery for tailored guidance and support.
Meet Your Guide: Ellie Pranckevicius, FNP-BC
Ellie Pranckevicius is a board-certified Family Nurse Practitioner and the lead peptide therapy practitioner at Mirror Plastic Surgery in St. Petersburg, Florida. Her clinical foundation includes four years in the Neuroscience ICU at Tampa General Hospital, where she managed complex patients and developed a deep command of physiology and metabolic health.
Before pursuing her nursing credentials, Ellie trained as an esthetician at a high-end medical spa in Boston, which gives her a rare dual perspective on aesthetic goals and the clinical science required to achieve them safely. Her patient-education philosophy mirrors that of dentistry: professional protocols deliver results, and lasting outcomes depend on clients understanding exactly what they are doing and why.
Book an appointment with Ellie to receive a personalized GLP-1 or GLP-3R protocol built around your lab results, health history, and goals.
Quick Overview of GLP-1 and GLP-3R Peptides
Before you focus on technique, you need a basic sense of what you are injecting and why handling matters. GLP-1 (glucagon-like peptide-1) receptor agonists are a well-established class of peptides used in both diabetes management and weight loss. They work by mimicking the body’s natural incretin hormones, slowing gastric emptying, reducing appetite, and improving insulin sensitivity.
GLP-3R is a newer-generation compounded formulation that targets similar pathways but is reported to carry a lower risk of gastrointestinal side effects and muscle wasting while supporting broader indications including cardiovascular risk reduction and insulin resistance.1
Not all GLP-1 and GLP-3R formulations carry FDA approval, particularly compounded versions. This article covers injection technique only and does not constitute medical advice. All peptide therapy at Mirror Plastic Surgery begins with a comprehensive consultation and, when appropriate, in-depth lab analysis.
Preparing Your Supplies and Injection Site
-
Gather your supplies. You will need your peptide vial or pen, the correct gauge needle and syringe (as specified by your provider), alcohol swabs, a puncture-proof sharps container, and clean gauze or a cotton ball.
-
Warm the medication to room temperature. Once your supplies are ready, remove the vial or pen from the refrigerator at least 30 minutes before injection. Cold medication increases injection discomfort. Never use a microwave or hot water to speed this process.
-
Inspect the solution while it warms. The liquid should be clear and colorless or pale yellow. Discard any vial that appears cloudy, discolored, or contains visible particles, even after reaching room temperature.
-
Wash your hands thoroughly with soap and water for at least 20 seconds before handling any supplies.
-
Clean the injection site with an alcohol swab and allow it to dry completely, typically 15 to 30 seconds. Injecting through wet alcohol increases stinging.
-
Draw the correct dose as instructed by your provider. Remove air bubbles by gently tapping the syringe and depressing the plunger slightly.
Step-by-Step GLP-1 Self-Injection Technique
Snippet summary: Clean the site with alcohol and let it dry. Pinch the skin if injecting into a lean area. Insert the needle at 45–90 degrees, depress the plunger slowly and steadily, hold for a few seconds, then withdraw at the same angle. Apply gentle pressure with gauze and avoid rubbing the site.
-
Select your rotation site for the day, such as the abdomen, outer thigh, or back of upper arm.
-
Clean the chosen area with an alcohol swab and wait for the skin to dry fully.
-
Use a pinch or no-pinch approach based on the guidance in the next section.
-
Insert the needle smoothly at the appropriate angle, without jabbing or hesitating.
-
Depress the plunger slowly and steadily over 3 to 5 seconds.
-
Hold the needle in place for a few seconds after the plunger is fully depressed.
-
Withdraw the needle at the same angle it entered.
-
Apply light pressure with clean gauze. Do not rub, because rubbing can cause the medication to disperse unevenly or increase bruising.
-
Dispose of the needle immediately in a puncture-proof sharps container.
Pinch or No Pinch for GLP-1 Injections
The pinch technique works best for areas with minimal subcutaneous fat, such as the abdomen in leaner individuals or the back of the upper arm. Pinching a fold of skin lifts the subcutaneous tissue away from the underlying muscle and reduces the risk of an intramuscular injection. To pinch correctly, use the thumb and two fingers, not the entire hand, and lift gently without squeezing so hard that the tissue blanches.
In areas with adequate subcutaneous fat, such as the outer thigh or lower abdomen in many adults, a pinch is not required. In these locations, a 90-degree needle angle is appropriate. For leaner injection sites or when using a longer needle, a 45-degree angle with a pinch is the safer choice.
Your provider will specify the needle length and angle best suited to your body composition during your initial consultation. When you feel unsure, the pinch-at-45-degrees approach is usually the more conservative and widely applicable technique.
Needle Hold Time for GLP-1 and GLP-3R Injections
Keeping the needle in place after you fully depress the plunger allows the medication to disperse into the subcutaneous tissue before withdrawal. A hold time of a few seconds is often recommended for subcutaneous peptide injections.
Withdrawing too quickly can allow a small amount of medication to track back along the needle path and leak out, which reduces the effective dose delivered. For pen devices with larger volume doses, a longer hold may be preferable. For smaller-volume syringe injections, a shorter duration is generally sufficient. Count slowly and deliberately rather than guessing.
Rotating Injection Sites to Prevent Irritation
Repeated injections into the same location can cause lipohypertrophy, which is a thickening or hardening of subcutaneous fat tissue that impairs medication absorption and creates visible lumps. The Mayo Clinic notes that consistent site rotation is one of the most important habits for anyone on a long-term injection protocol.
A practical rotation calendar for a weekly GLP-1 or GLP-3R injection might look like this: Week 1, lower left abdomen; Week 2, lower right abdomen; Week 3, left outer thigh; Week 4, right outer thigh; Week 5, back of left upper arm; Week 6, back of right upper arm, then repeat.
Within each zone, shift the exact needle placement by at least one inch from the previous injection in that zone. Avoid injecting within two inches of the navel or into any area that is bruised, scarred, or has visible lipohypertrophy. Keeping a simple injection log that lists date, site, and any local reaction makes rotation tracking straightforward and gives your provider useful data at follow-up.
Troubleshooting GLP-1 Injection Pain
Mild stinging or pressure during injection is common. Persistent burning, significant bruising, or raised welts at the injection site deserve attention. Common causes of increased injection pain include skipping the 30-minute warming step described earlier, not waiting the full 15 to 30 seconds for alcohol to dry, injecting too quickly, and using an inconsistent needle angle during insertion or withdrawal.
Nurse Note from Ellie: “The two most common mistakes I see are injecting cold medication and not letting the alcohol dry. Both are easy fixes. If you are still experiencing significant discomfort after correcting those, it is worth checking your needle gauge, because a finer gauge needle makes a meaningful difference for most people. And if you are seeing persistent redness, swelling, or any signs of infection, contact your provider before your next injection rather than waiting for your scheduled follow-up.”
Additional pain-reduction strategies include applying a cold pack to the site for 60 seconds before injection, then allowing the skin to return toward normal temperature, relaxing the muscle in the injection area, and exhaling slowly during needle insertion.
Schedule a technique review with Ellie if you are experiencing recurring injection-site reactions or want hands-on guidance before starting your protocol.
Safe Sharps Disposal After Every Injection
Used needles and syringes must never be placed in household recycling or regular trash. Sharps should go into a puncture-resistant container immediately after use. Once the container is approximately three-quarters full, seal it according to the manufacturer’s instructions. Many Florida counties offer sharps mail-back programs or designated drop-off locations at pharmacies and healthcare facilities. Your provider may share guidance on local disposal options.
Important Considerations Before You Begin GLP-1 Therapy
Self-injection technique is only one component of a safe peptide protocol. Medical oversight, including a thorough health history review, baseline lab panels covering thyroid, liver, kidney, and metabolic markers, and ongoing monitoring, is essential for identifying contraindications and adjusting dosing over time. The quality of the peptide itself matters as much as technique.
Compounded GLP-1 and GLP-3R products sourced without batch testing carry unknown purity and potency risks. At Mirror Plastic Surgery, all peptides are sourced from reputable providers with documented batch testing, and every patient receives direct access to Ellie for questions, dose adjustments, and refill support. The difference between supervised and unsupervised use is not merely procedural, because it directly affects both safety and outcomes.
Practical Takeaways Checklist
-
Remove medication from the refrigerator 30 minutes before injection so it can reach room temperature.
-
Clean the site with an alcohol swab and wait for it to dry completely, usually 15 to 30 seconds.
-
Use the pinch technique at 45 degrees for lean areas and a 90-degree angle without pinch for areas with adequate subcutaneous fat.
-
Depress the plunger slowly and hold for a few seconds before withdrawing the needle.
-
Follow a six-zone rotation calendar and log each injection date and site.
-
Dispose of every needle in a puncture-resistant sharps container.
-
Contact your provider for any persistent pain, redness, swelling, or signs of infection.
How GLP-1 Injections Support Weight, Inflammation, and Recovery Plans
GLP-1 and GLP-3R peptides function as part of a broader plan rather than as standalone weight-loss tools. Within a comprehensive protocol, they work alongside nutritional guidance, activity, and, when relevant, complementary peptides such as BPC-157 for systemic inflammation or NAD for cellular energy support.1
For post-surgical patients, GLP-3R’s reported reduction in muscle wasting makes it a particularly relevant consideration during recovery phases.1 Mirror Plastic Surgery’s concierge model means that Ellie evaluates each patient’s full health picture before recommending any peptide stack, so GLP-1 or GLP-3R therapy is integrated purposefully instead of prescribed in isolation.
Frequently Asked Questions
Is it safe to self-inject GLP-1 or GLP-3R peptides at home?
Self-injection at home is safe when performed under medical supervision, using properly sourced peptides, and following technique guidance from a qualified provider. The risks increase significantly when peptides are obtained from unverified online sources without quality testing or when injections are performed without any clinical oversight. Mirror Plastic Surgery provides detailed reconstitution and injection instructions, often with video demonstrations, as part of its onboarding process.
How is GLP-3R different from standard GLP-1 medications?
GLP-3R is a newer compounded formulation that targets similar metabolic pathways as GLP-1 but is reported to produce fewer gastrointestinal side effects and a lower risk of lean muscle loss. It may also address a broader range of indications including insulin resistance and cardiovascular risk factors. Injection technique for GLP-3R follows the same subcutaneous principles as GLP-1, and your provider will specify any formulation-specific handling or storage differences.
How often do I need to rotate my injection sites?
For weekly GLP-1 or GLP-3R injections, rotating through at least four to six distinct zones, including lower abdomen left and right, outer thighs left and right, and upper arms left and right, and shifting the exact needle placement within each zone by at least one inch prevents lipohypertrophy and maintains consistent absorption. Keeping a written or digital injection log makes this straightforward.
What should I do if I experience a reaction at the injection site?
Mild redness or slight tenderness immediately after injection is common and typically resolves within a few hours. Persistent swelling, warmth, significant bruising, raised welts, or any signs of infection such as increasing redness spreading from the site, fever, or discharge require prompt contact with your provider before the next scheduled injection. Patients at Mirror Plastic Surgery have direct text access to Ellie for exactly these situations.
Do I need lab work before starting a GLP-1 or GLP-3R protocol?
For weight management or metabolic indications, in-depth lab panels covering thyroid, liver, kidney, diabetes markers, and hormone levels are a standard part of the Mirror Plastic Surgery intake process. These results allow Ellie to identify any contraindications, establish a baseline for monitoring progress, and tailor the protocol to your specific physiology. If you do not have recent labs, they can be ordered as part of your consultation.
Making an Informed Decision About GLP-1 Self-Injection
Proper technique, quality-sourced peptides, and ongoing medical supervision form the three pillars of a safe and effective GLP-1 or GLP-3R protocol. This guide provides a practical foundation for technique, but as noted earlier, clinical supervision and quality sourcing are non-negotiable for safety and results.
Every patient’s anatomy, health history, and goals are different, and those differences matter when selecting needle gauge, injection site, dose, and rotation schedule. Mirror Plastic Surgery’s concierge model is built to provide that level of personalized attention, from the initial consultation and lab review through every follow-up and dose adjustment along the way.
Start your GLP-1 or GLP-3R protocol with Ellie at Mirror Plastic Surgery in St. Petersburg, Florida, and receive the clinical oversight, quality assurance, and one-on-one support it deserves.
1 Results may vary from person to person. Editorial content, before and after images, and patient testimonials do not constitute a guarantee of specific results.
Peptide therapy is intended for wellness and optimization purposes and is not prescribed to diagnose, treat, cure, or prevent disease unless specifically stated. Many peptides are not FDA-approved and may be used off-label. Some have limited long-term safety data, with a potential for unknown risks, complications, or desensitization with prolonged use.